I Tried Making Blueberry Magnets and Here’s How it Went
I’ve been wanting to experiment with clay for a while now, especially for small, low‑pressure projects that feel playful and creative. Air‑dry clay has been on my list for months, and blueberry magnets seemed like the perfect first experiment — simple, cute, and a fun way to add a tiny handmade touch to my sewing room. After some research, I found a homemade recipe that looked promising, and it turned out to be the perfect texture for a small project like this.
Shaping the Clay
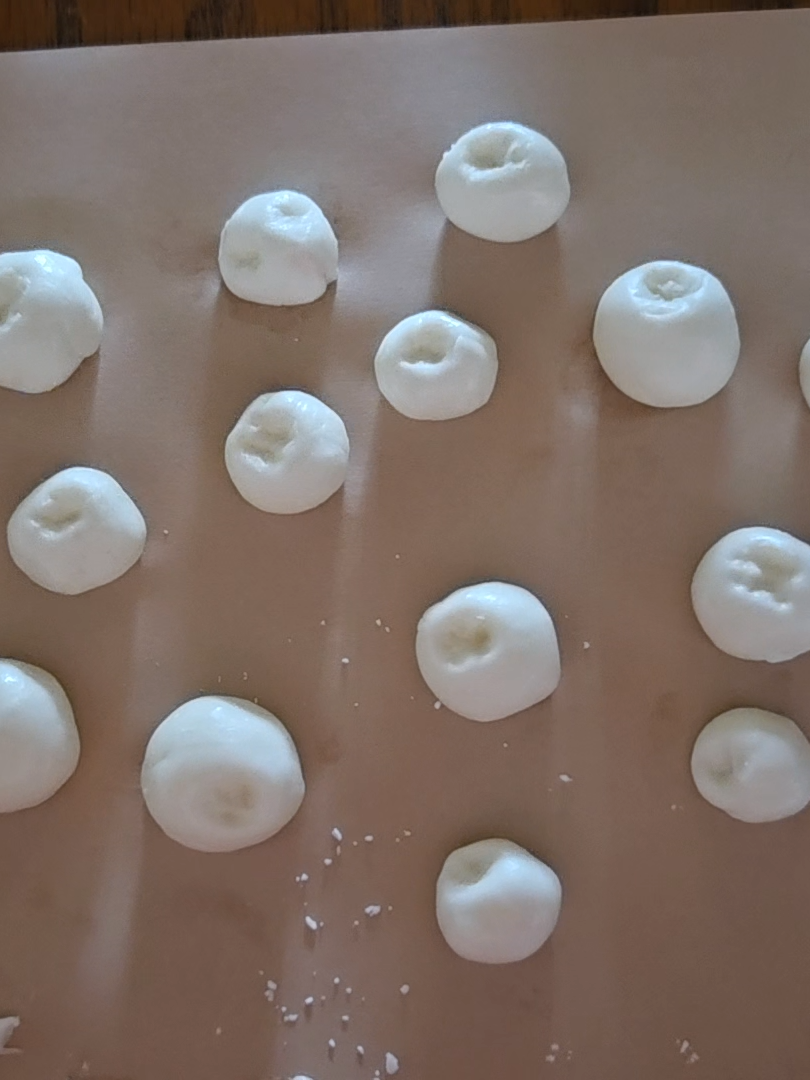
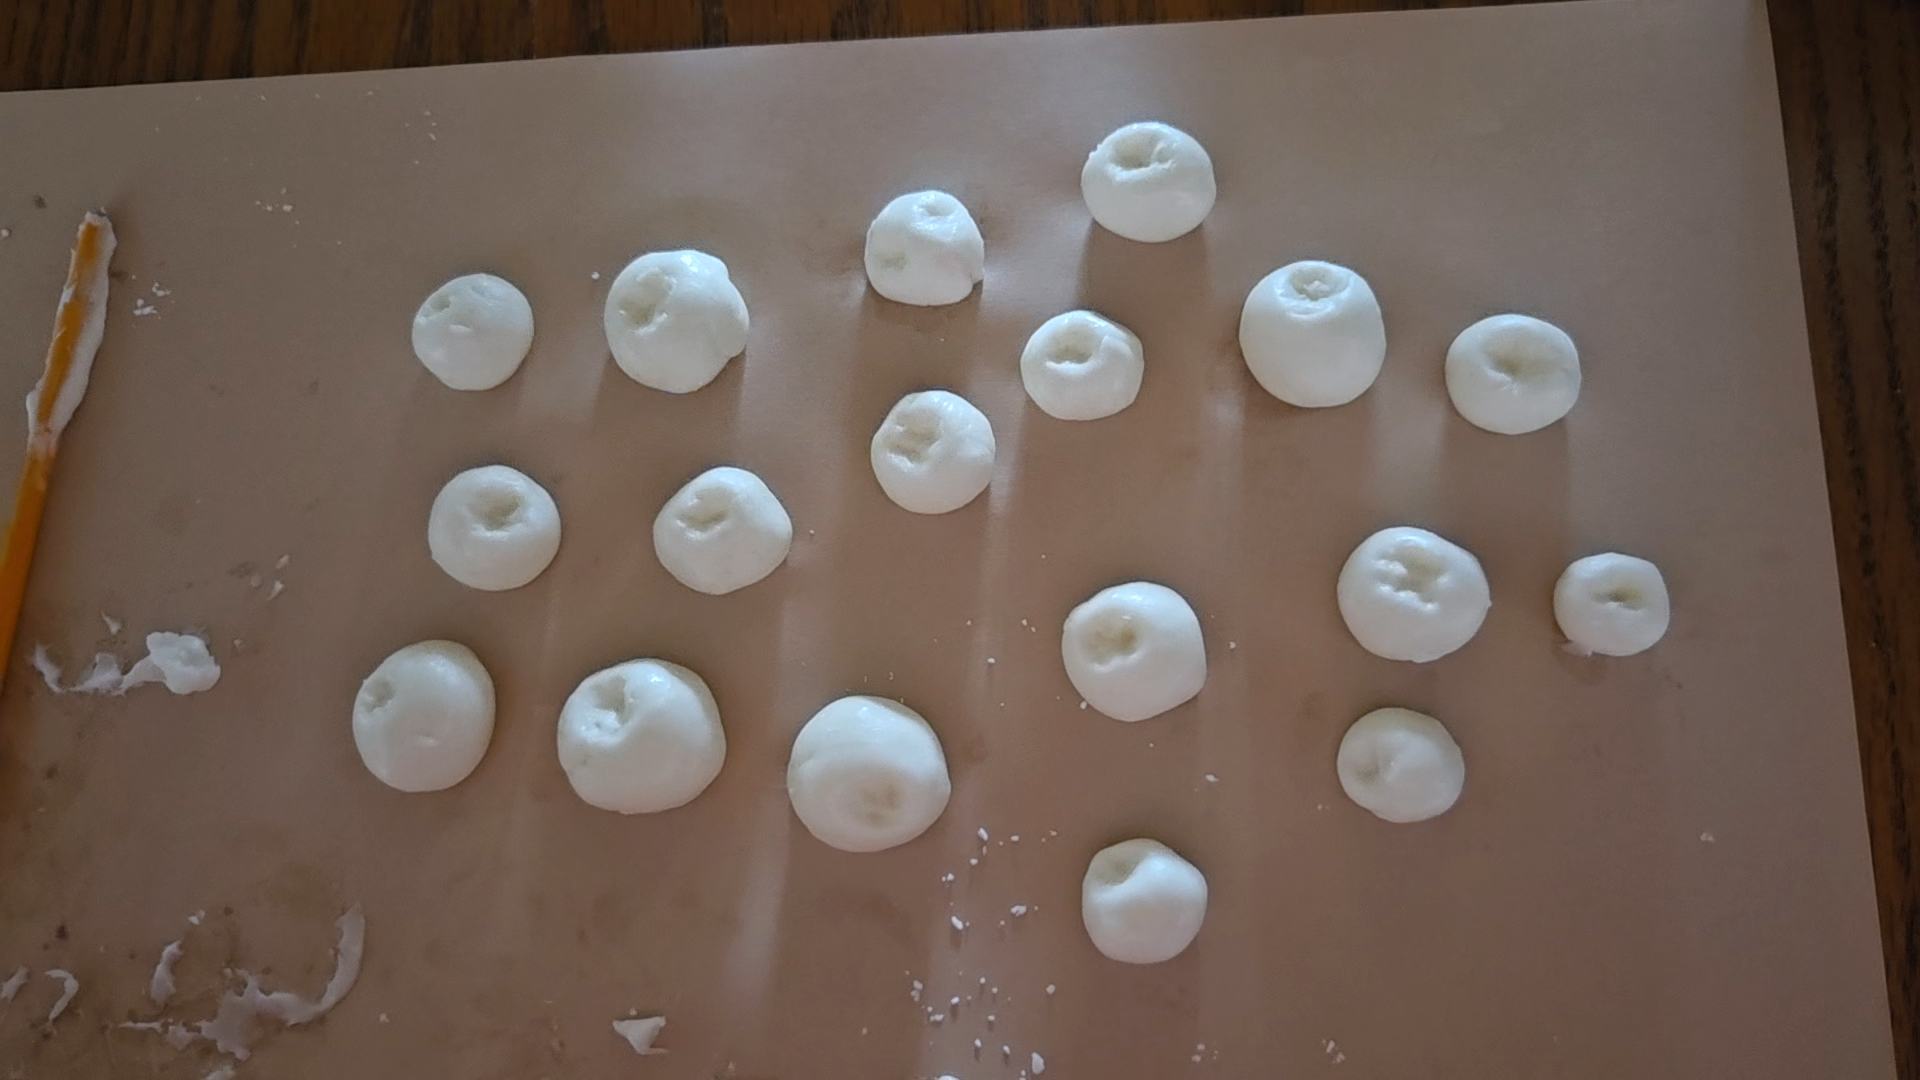
Once the clay was ready, I rolled a whole batch of tiny blueberries. The clay was soft and cool, and it was surprisingly fun to play with the size and shape of each berry to make them look more natural.
- roll small blueberries in a mix of sizes
- use the end of a paintbrush to press indents
- add thin groves in indents to make them more natural
- set them aside to dry for a few days
Painting the Berries
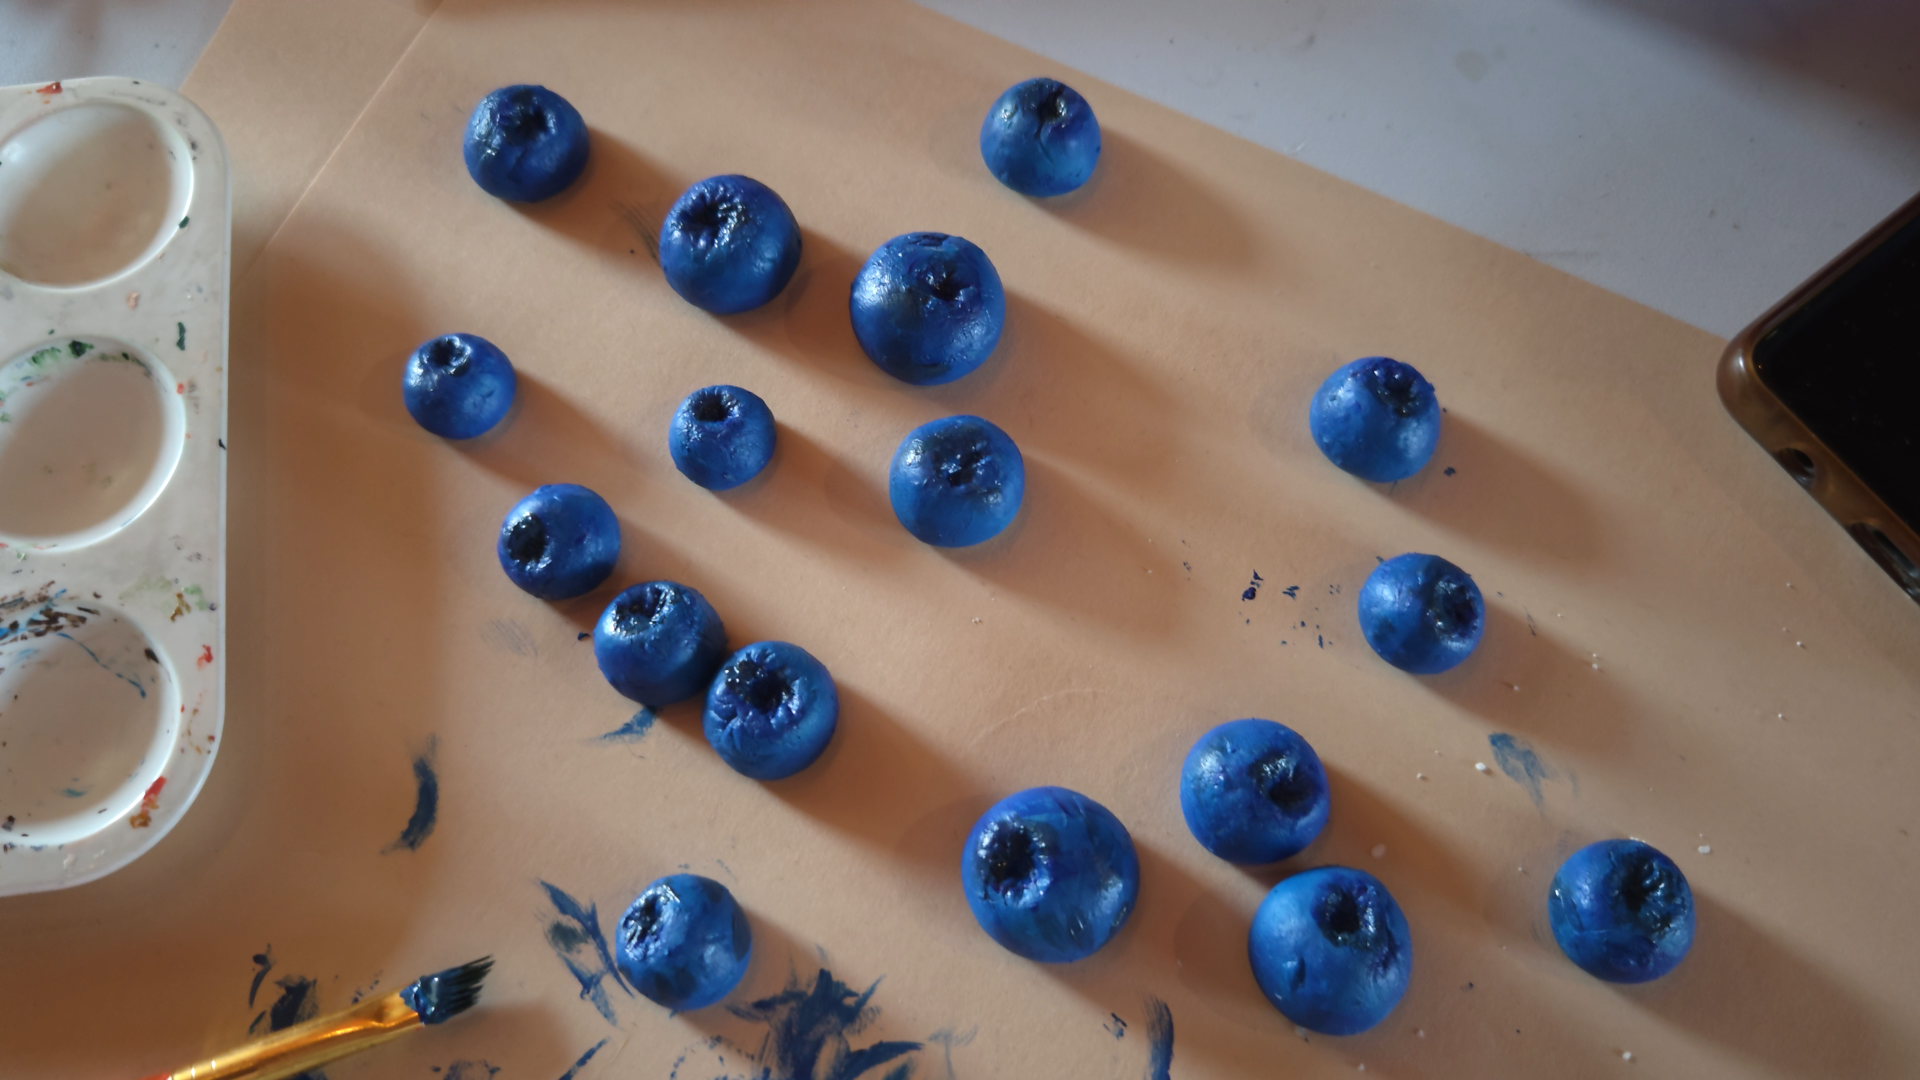
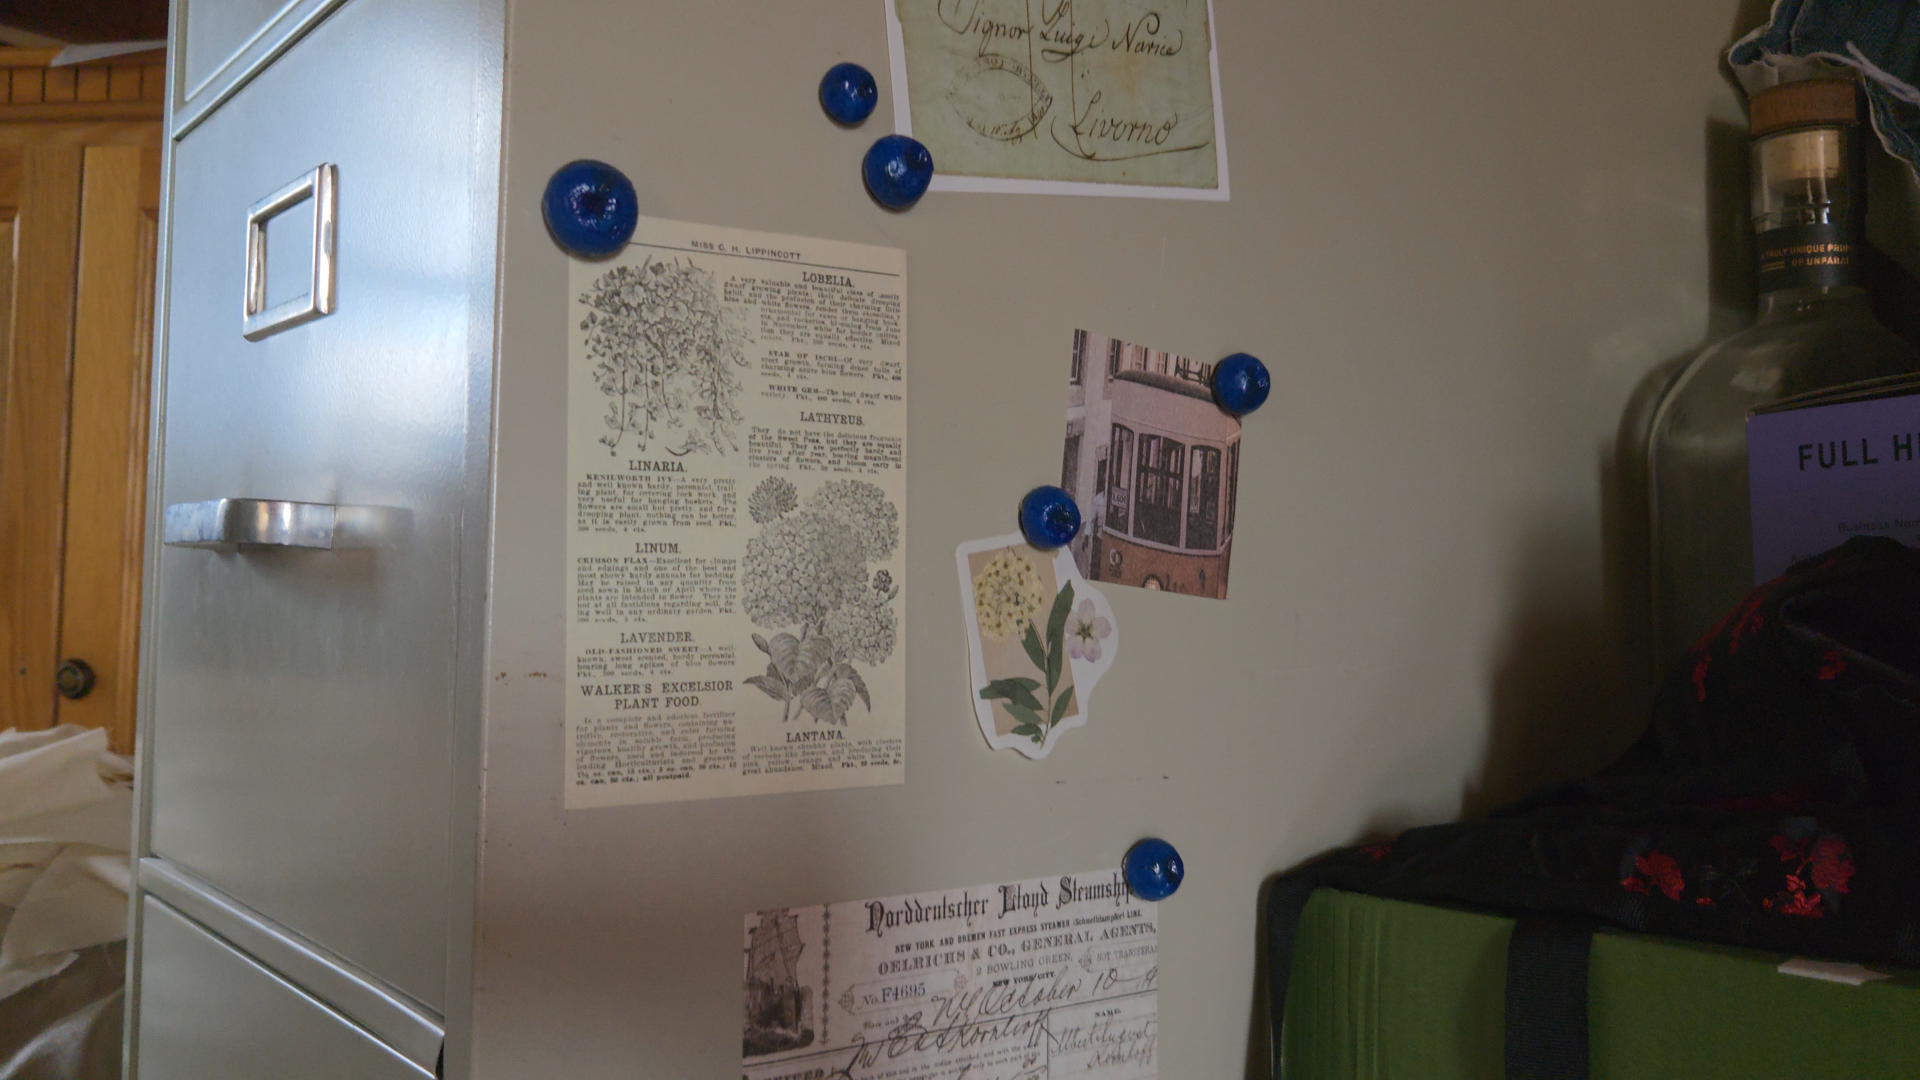
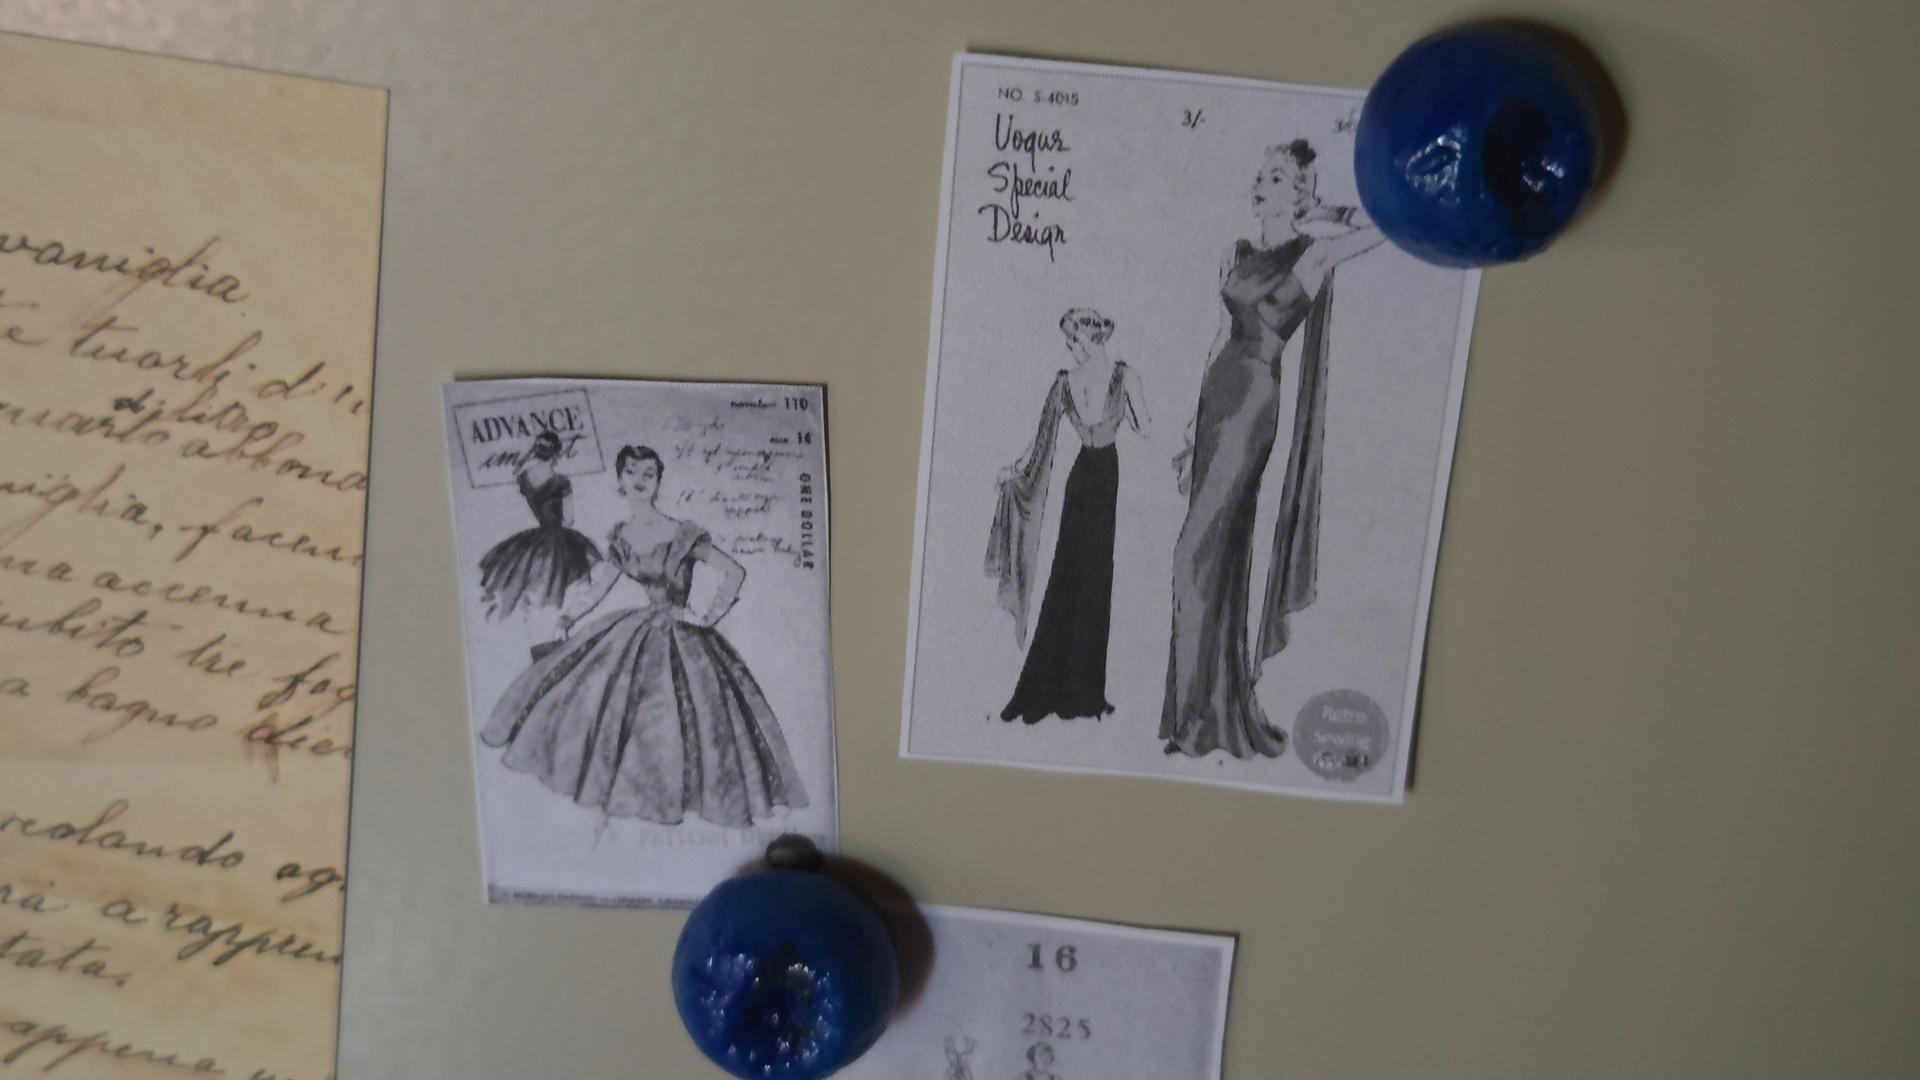
Once they were fully dry, I moved on to painting. This was my favorite part — blending blues and purples until they looked like real fruit. Watching them dry in little clusters made it easy to see how realistic and cute they were starting to look.
- get out a light blue, dark blue, and deep purple acrylic paint
- paint each berry with a dry brush and don’t over blend the colors
- add a glossy topcoat once the paint dries for a realistic shine
Adding the Magnets
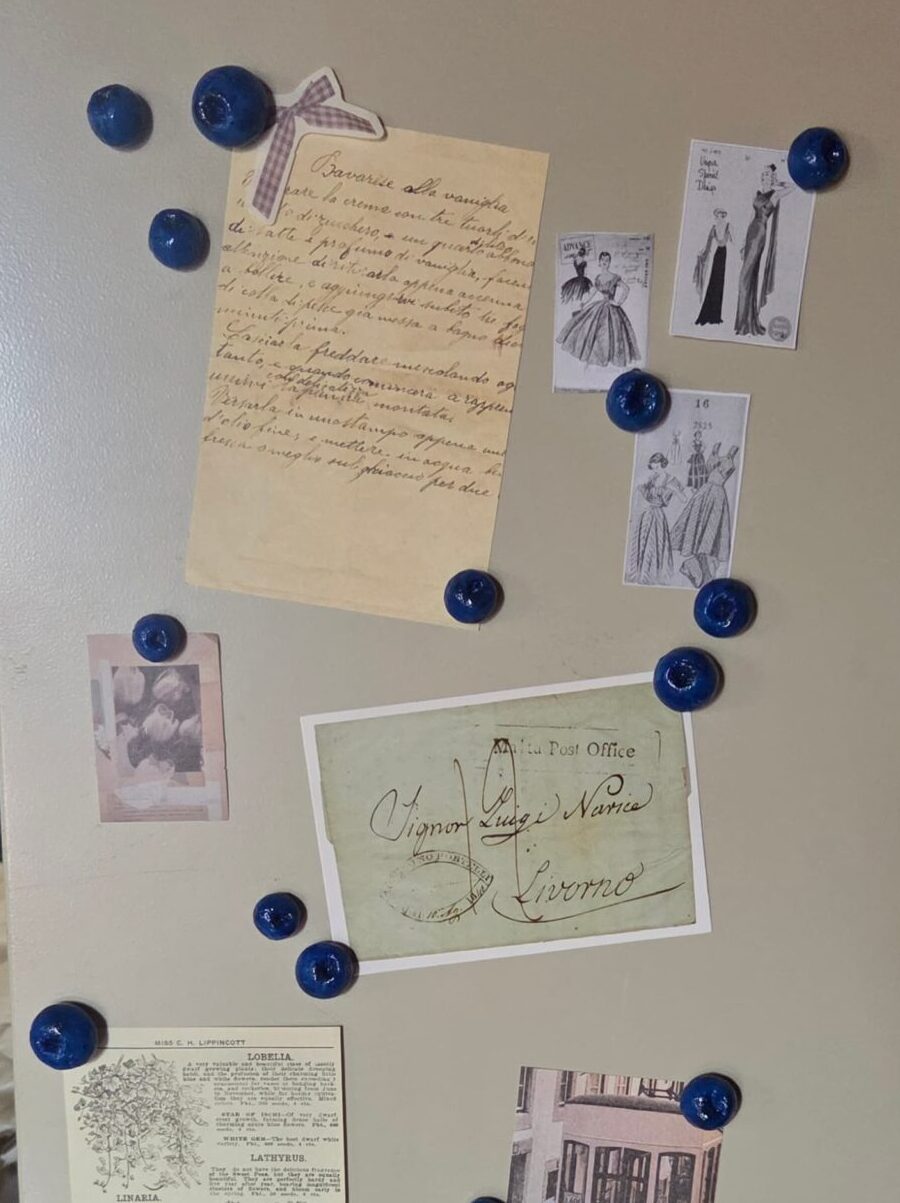
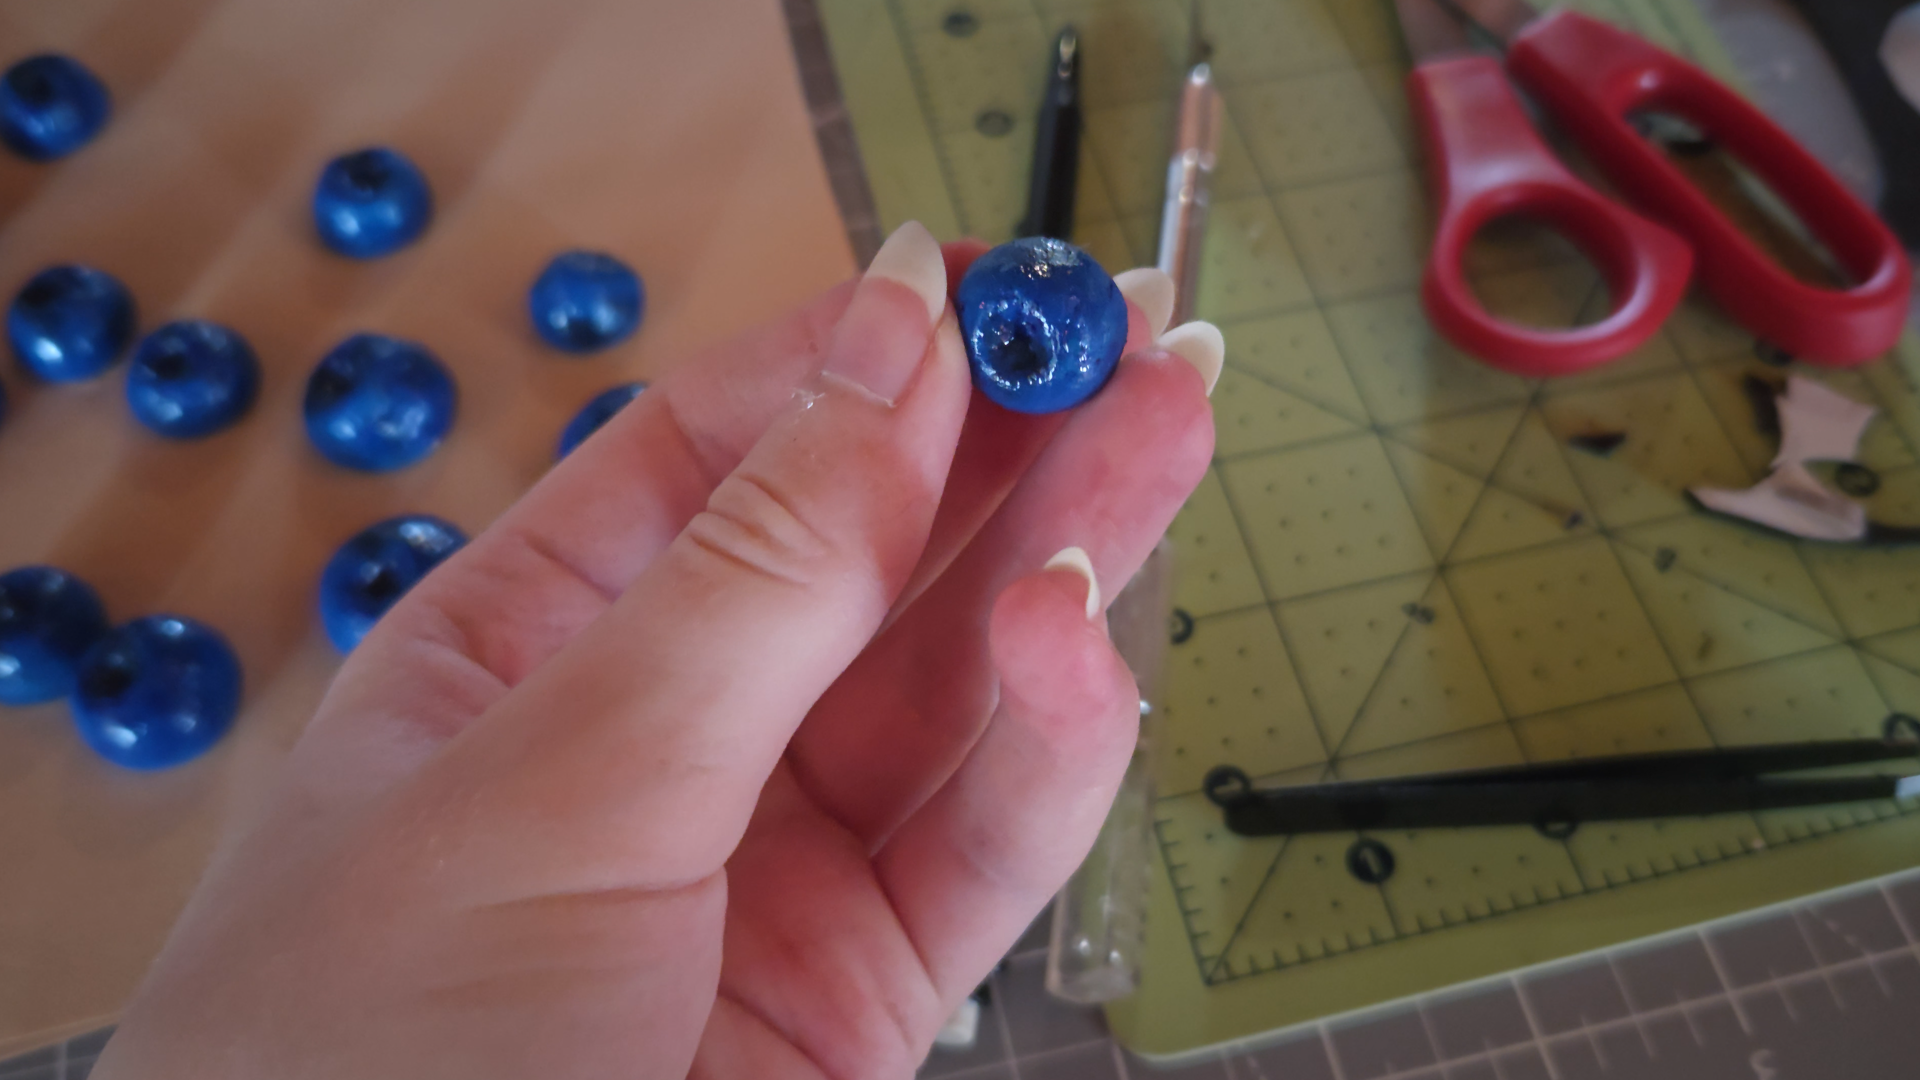
The last step was adding the magnets. I only had a magnet sheet on hand, so I cut it into small circles and hot‑glued them to the back of each berry. This ended up working surprisingly well and kept the thin magnet from being too visible when the berries are displayed.
- cut magnet sheet into circles
- hot‑glue each one to the back of a berry
- let them cool
Small Thoughts
Not every project needs a purpose — some are just meant to be sweet.
Final Thoughts
This was such a simple project, but the results were so charming. A little clay and a little paint went a long way toward creating cute, semi‑realistic blueberry charms — and they’ve become the perfect decorative addition to my sewing room.
I loved how relaxing this tiny project was, and how satisfying it felt to try a new material without any pressure. It was a sweet creative break from sewing, and now I’m already thinking about what small clay project to try next. Maybe tiny buttons or a little fruit basket. Either way, this was a lovely first step into air‑dry clay, one I’m very excited to keep exploring.
Air-Dry Clay Recipe Link
Materials
Cornstarch, PVA Glue, Vegetable Oil, Vaseline, Acrylic Paint, Acrylic Gloss Varnish, Magnet Sheet, Hot Glue
Why Blueberries?
Fun fact about me: blueberries have been my favorite fruit since I was little.
0 Comments