The whip stitch is a stitching technique done by hand instead of by machine. This stitch is normally used to finish the edge of a raw seam and can be done on a single layer (like finishing the bottom edge of a dress) or two layers of fabric (like a side seam).
We’ll quickly go over both in this post.
Whip Stitching a Hem
Preparing The Edge
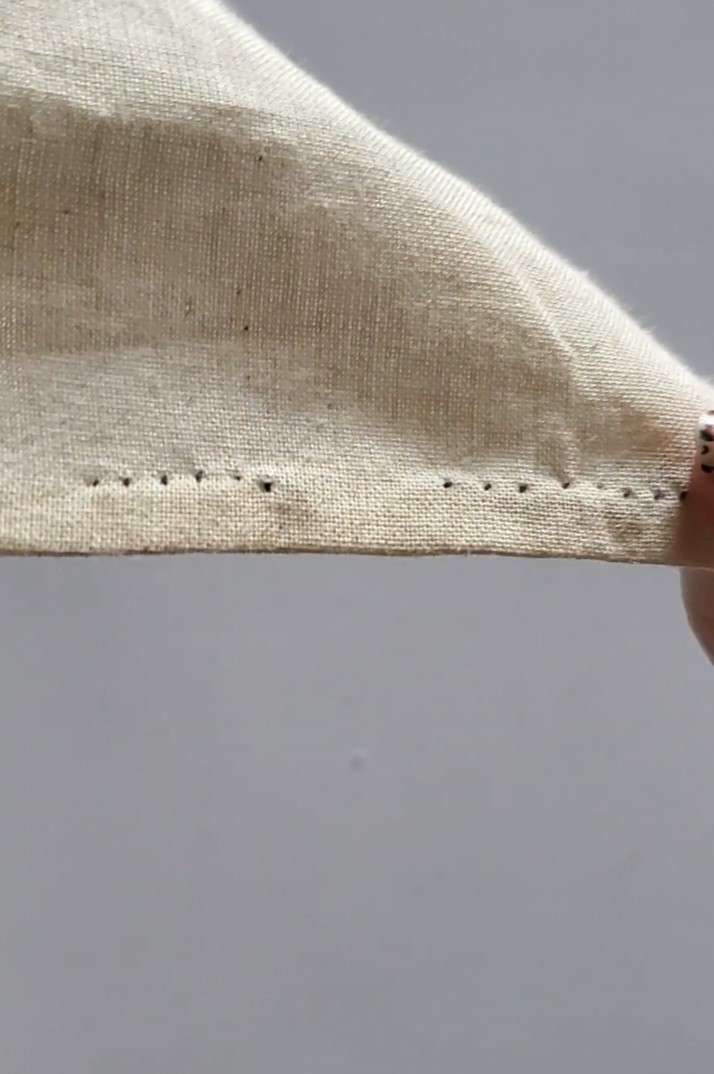
If you’re just starting to learn how to hand sew, it can be really helpful to mark your fold lines to help you get your seams even and straight. Figure out how big you want the final seam to be, then mark two lines with that width as the distance. For example, my guide lines are half an inch each. This makes both put together 1 inch total, and when I roll the hem to encase the raw edge, the final seam will be half an inch.
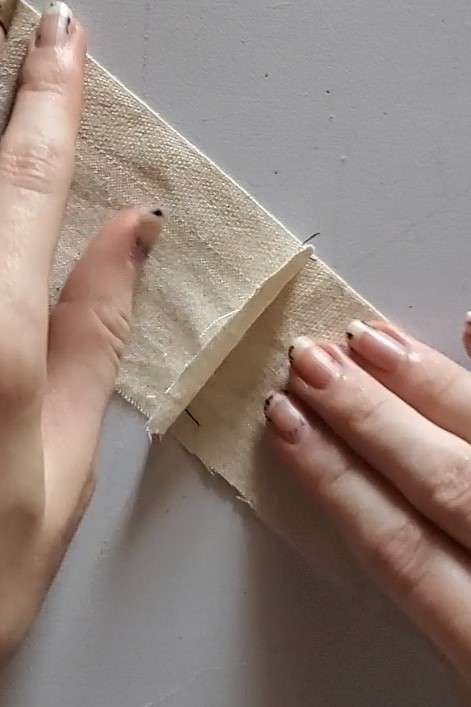
I find it easier to use the lines as a guide by keeping them on the outside. Fold the material until the line closest to the raw seam is lined up with the edge. Press the seam with an iron so it’ll keep its shape.
Fold the material over one more time. Use the first fold as a guide for the second, keeping it as close in size as possible. If done right, the second black line should now be on the fold edge at the bottom of the hem, and the first black line should be facing the top of the garment. The raw edge should be completely encased by the double roll. Press the seam once more so it maintains its shape while you are sewing. (Remember to tuck any longer unraveled threads that are peeking out from the seam back under while sewing.)
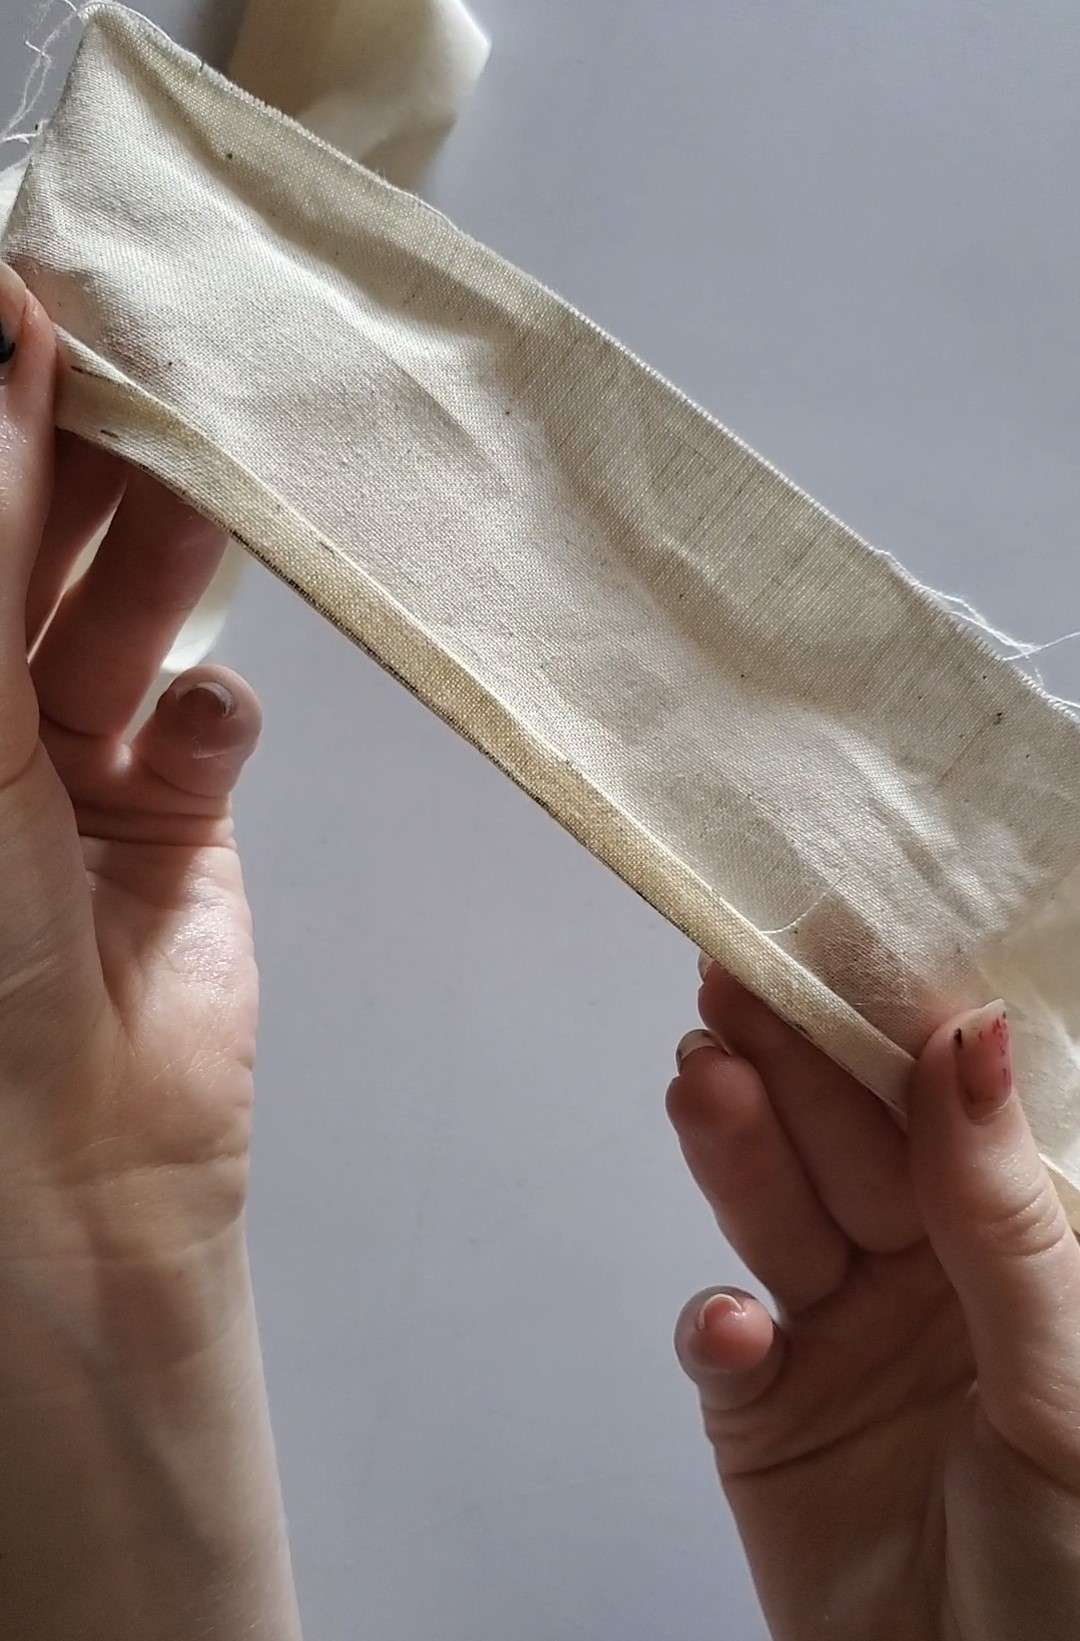
Beginning to Sew
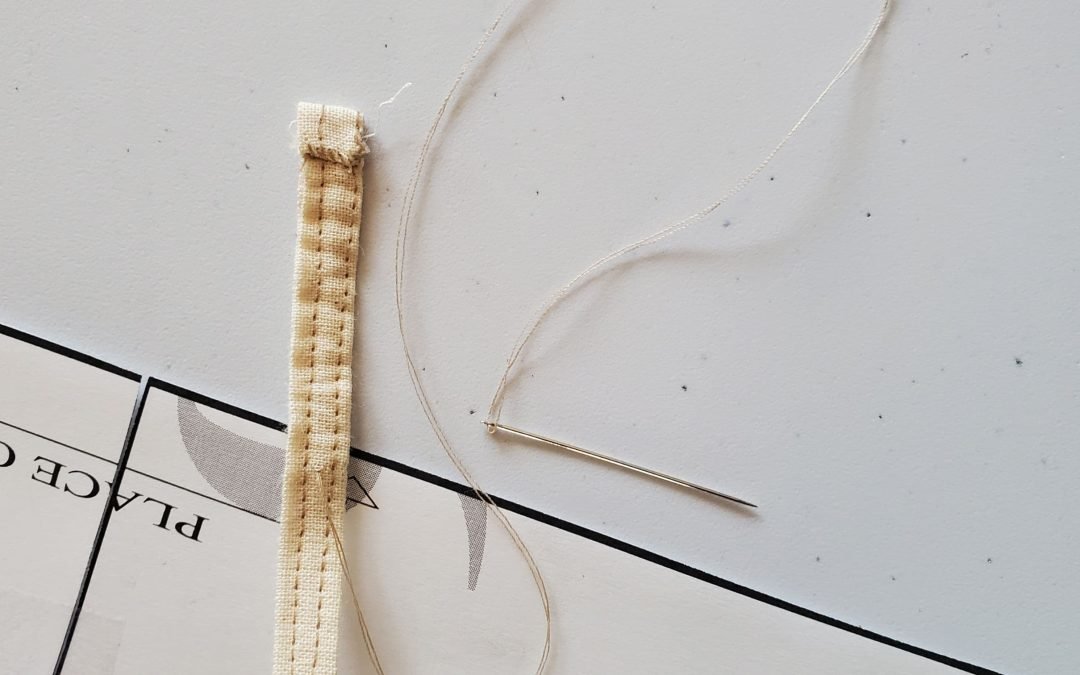
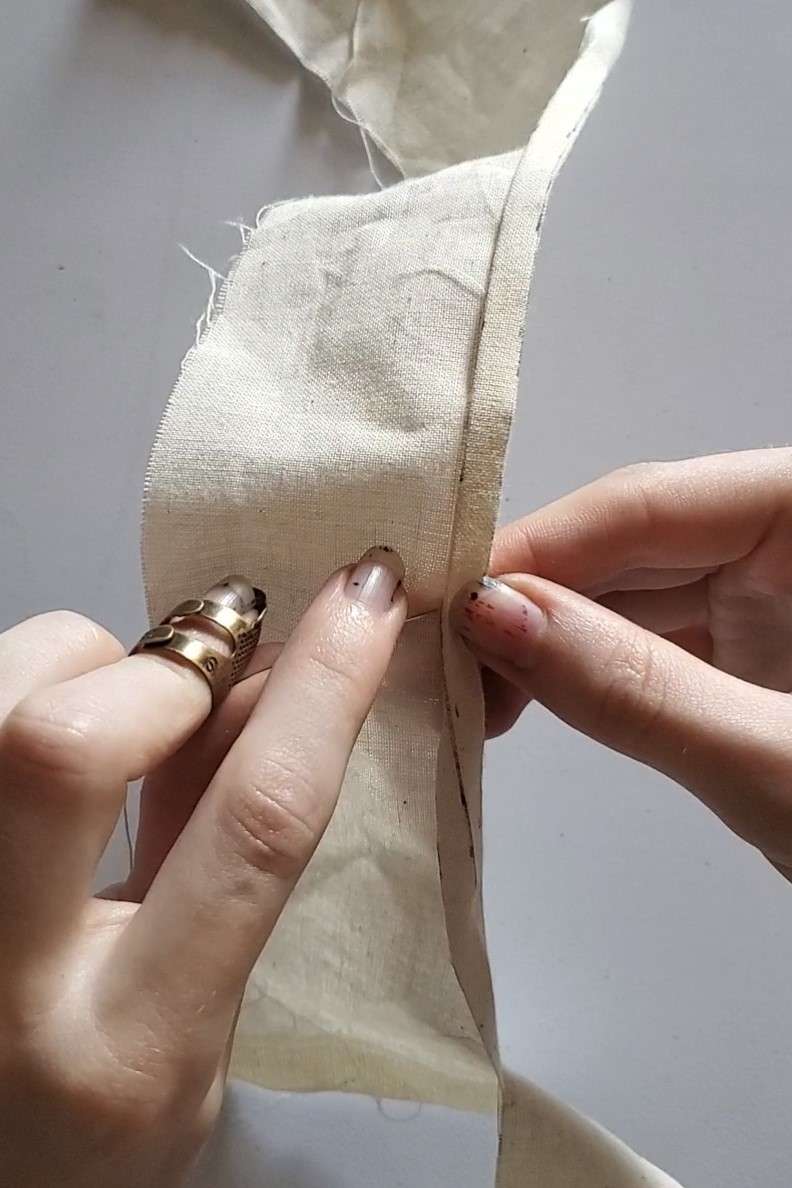
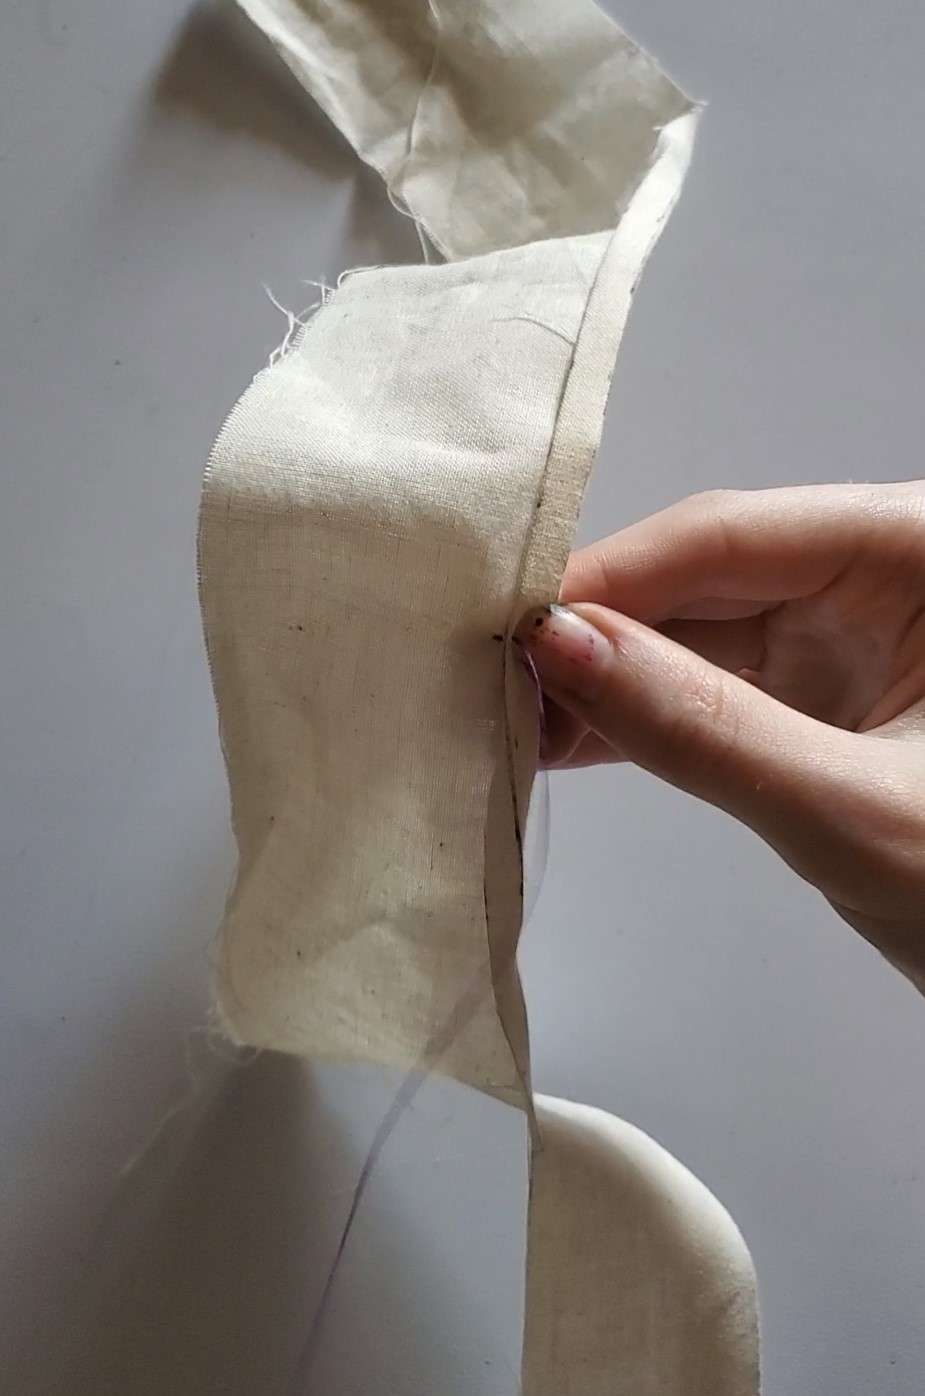
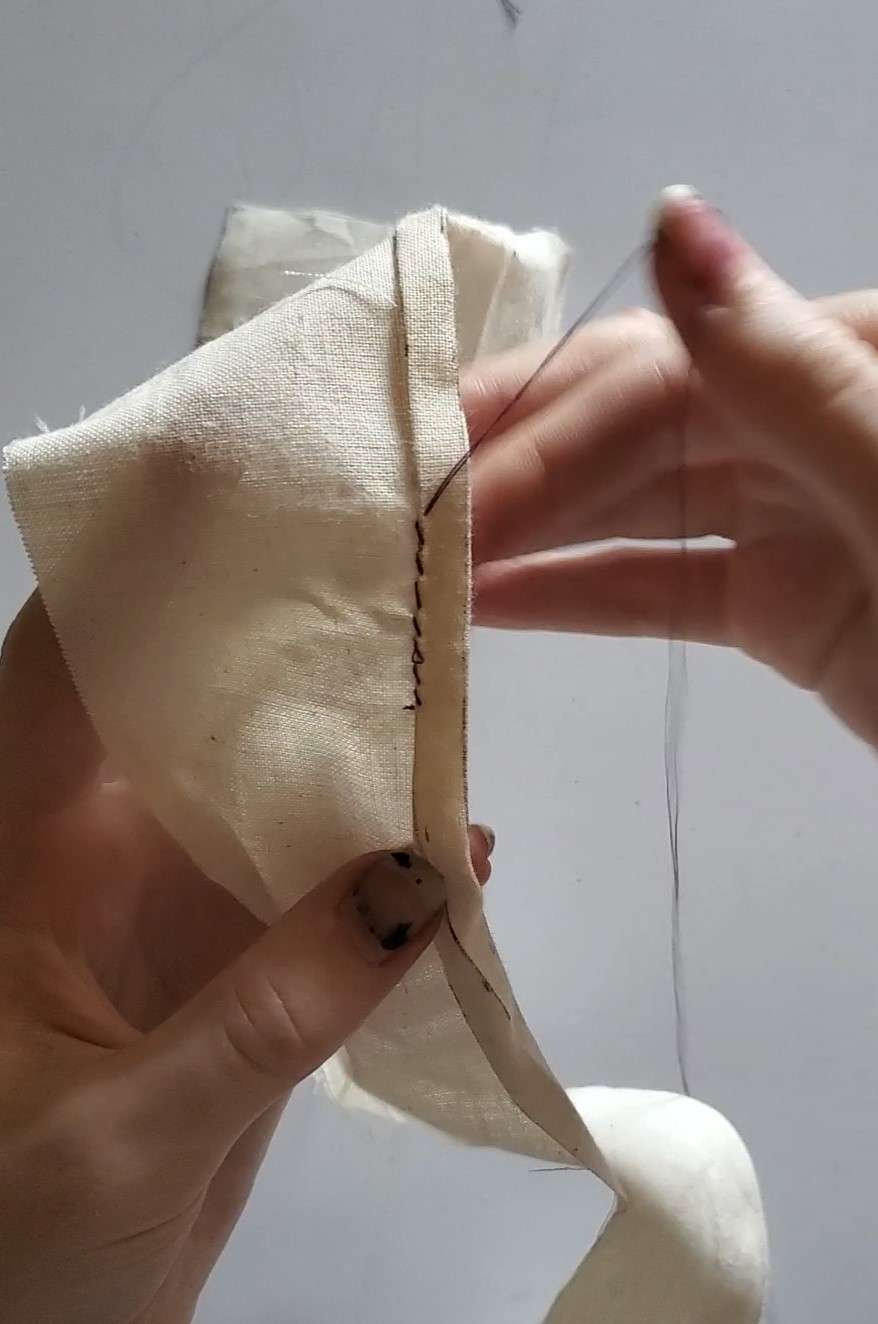
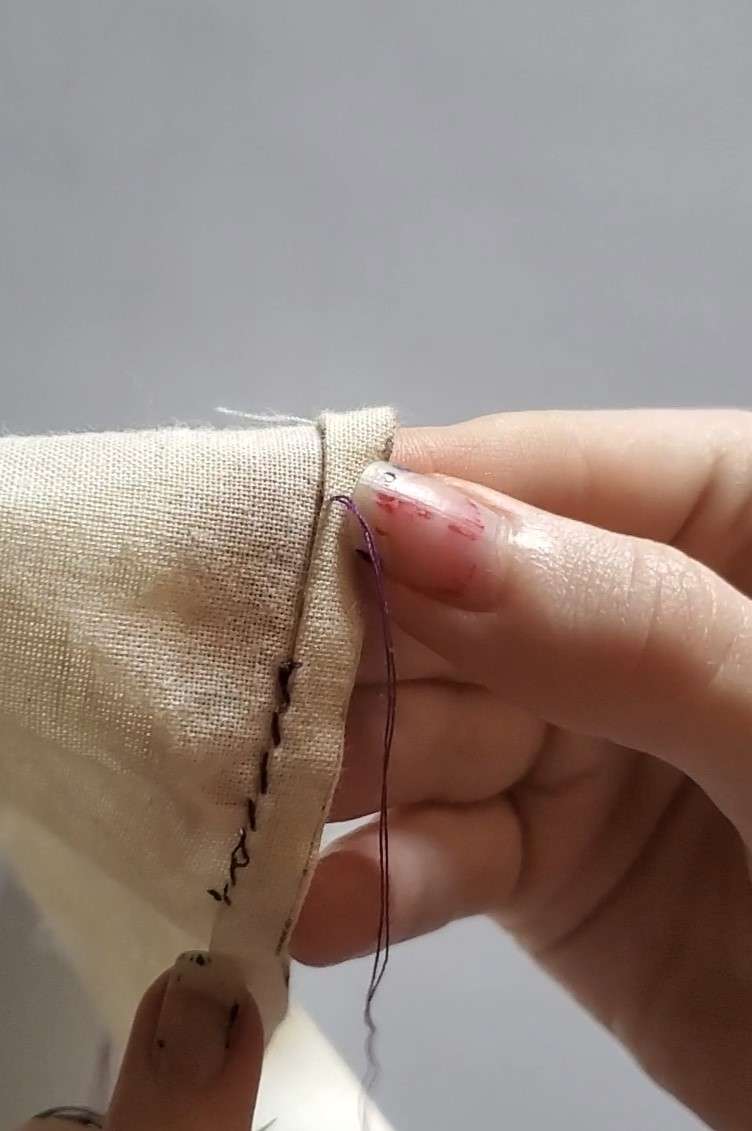
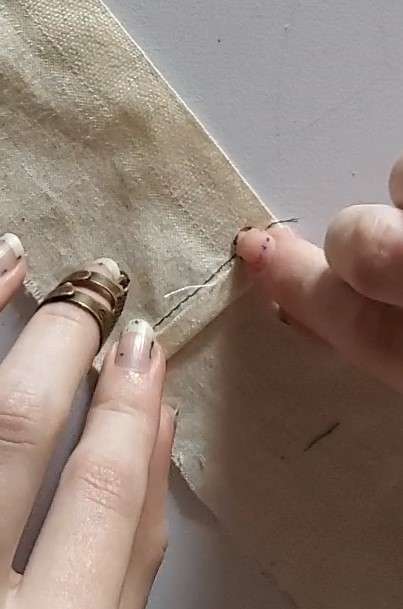
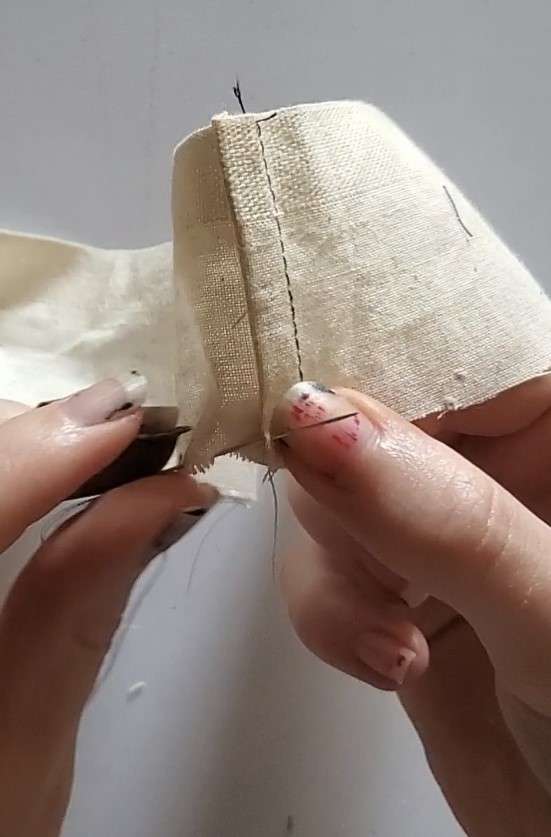
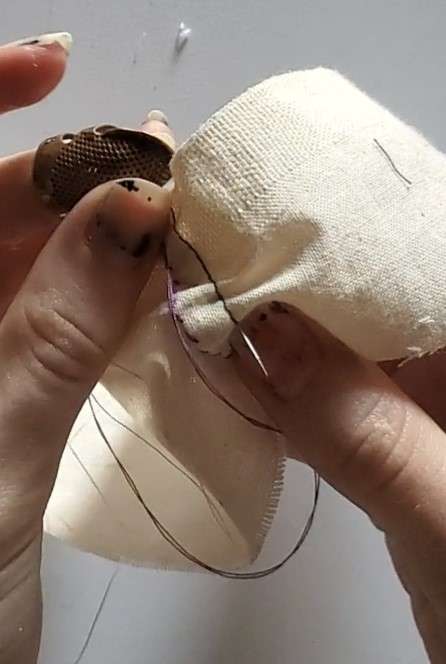
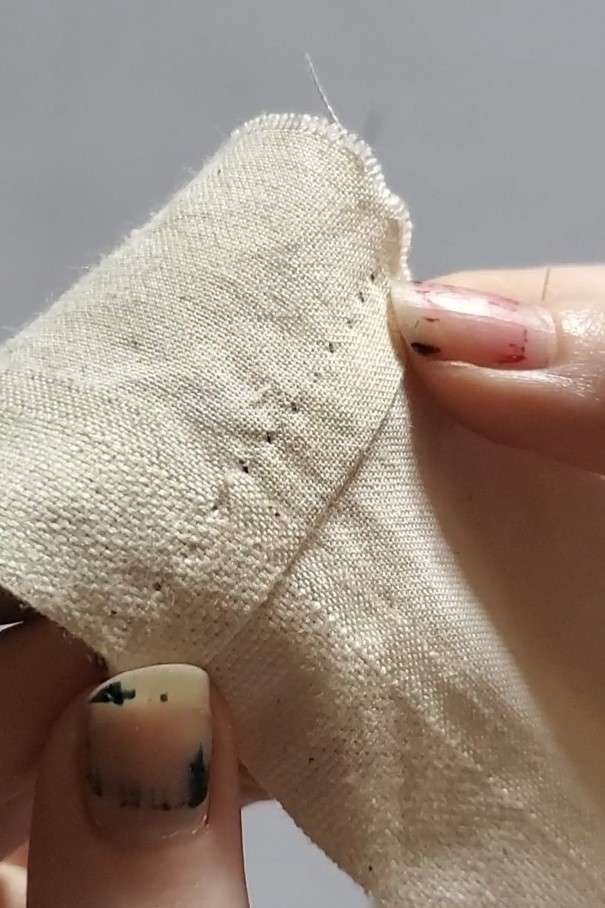
Place your needle against the edge of the seam.
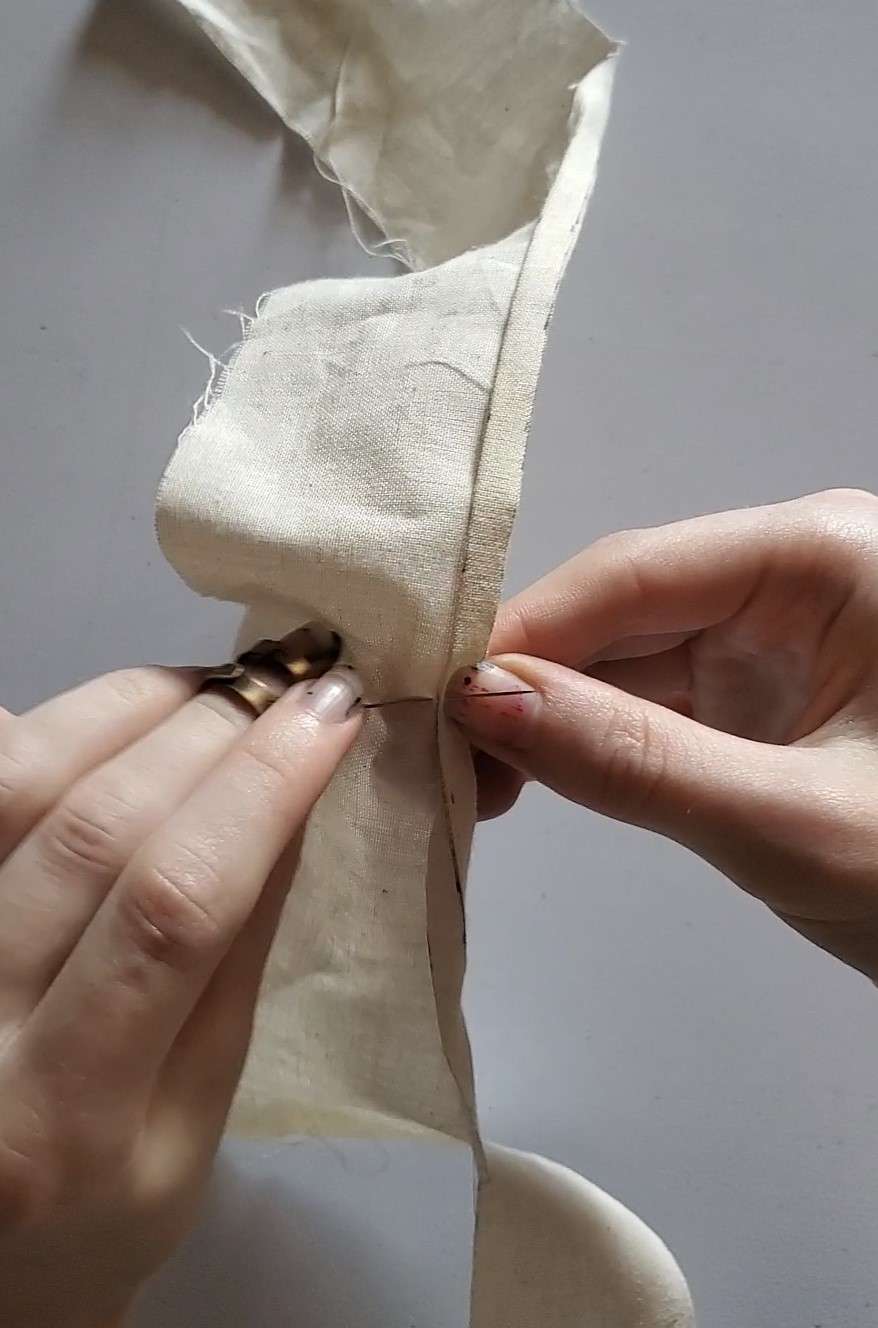
Push the needle through, making sure to catch a few threads on the main section of the material and the edge of the seam.
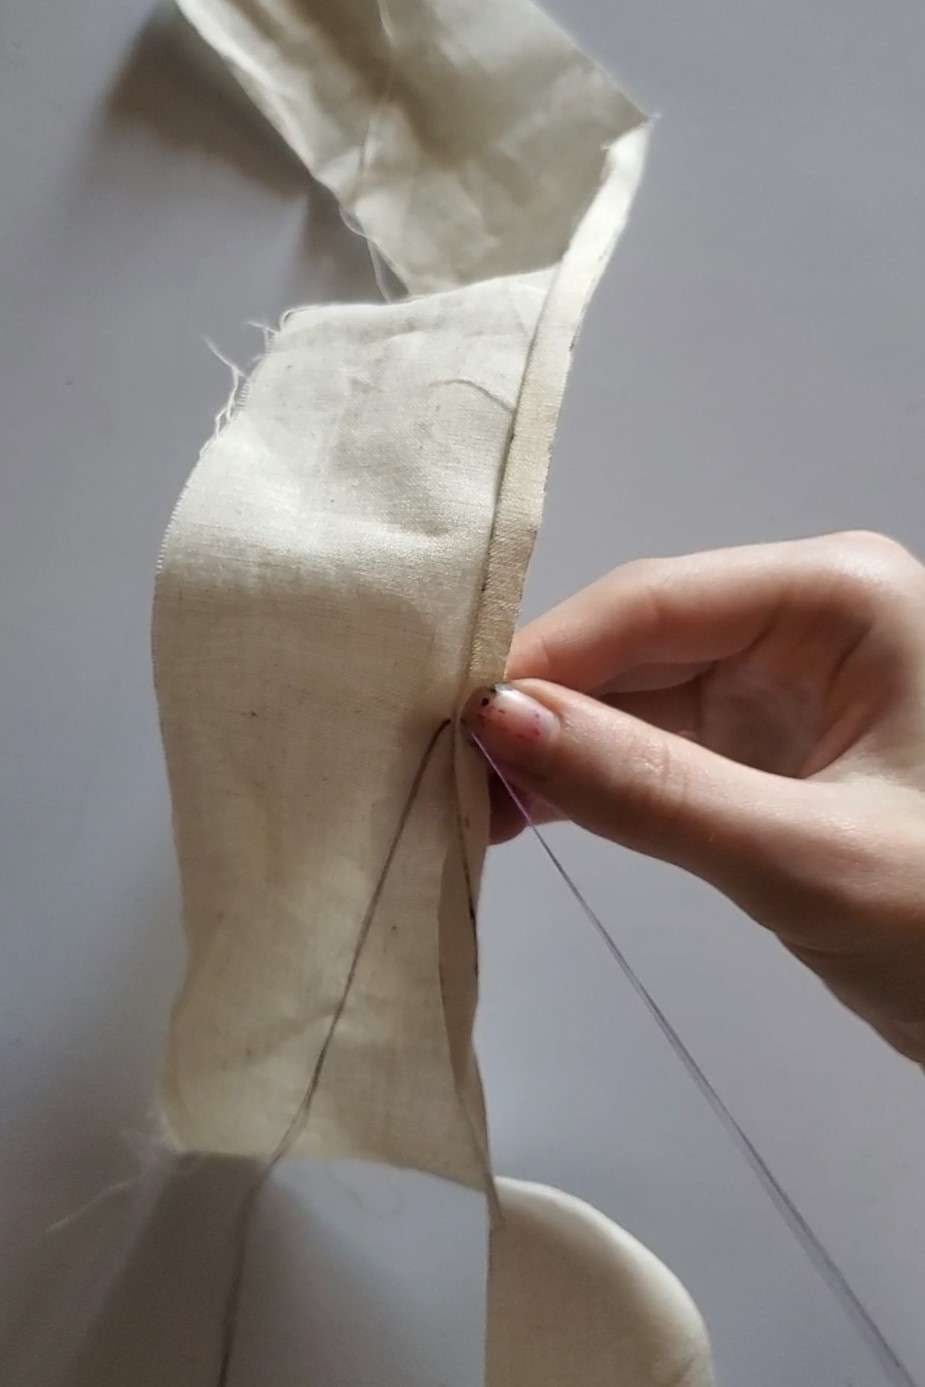
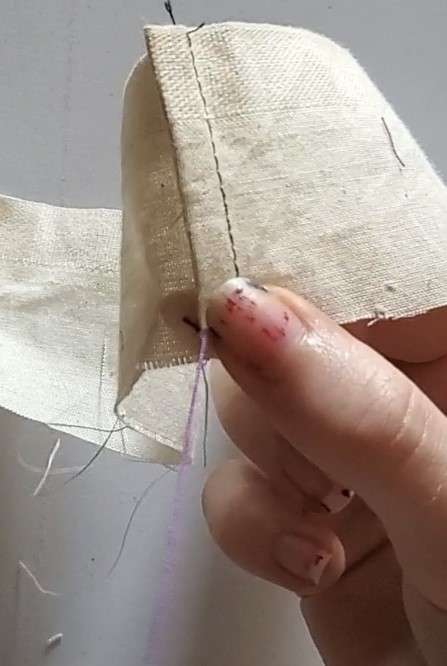
Pull the thread through the fabric gently until the knot at the end of the thread gets caught against the fabric.
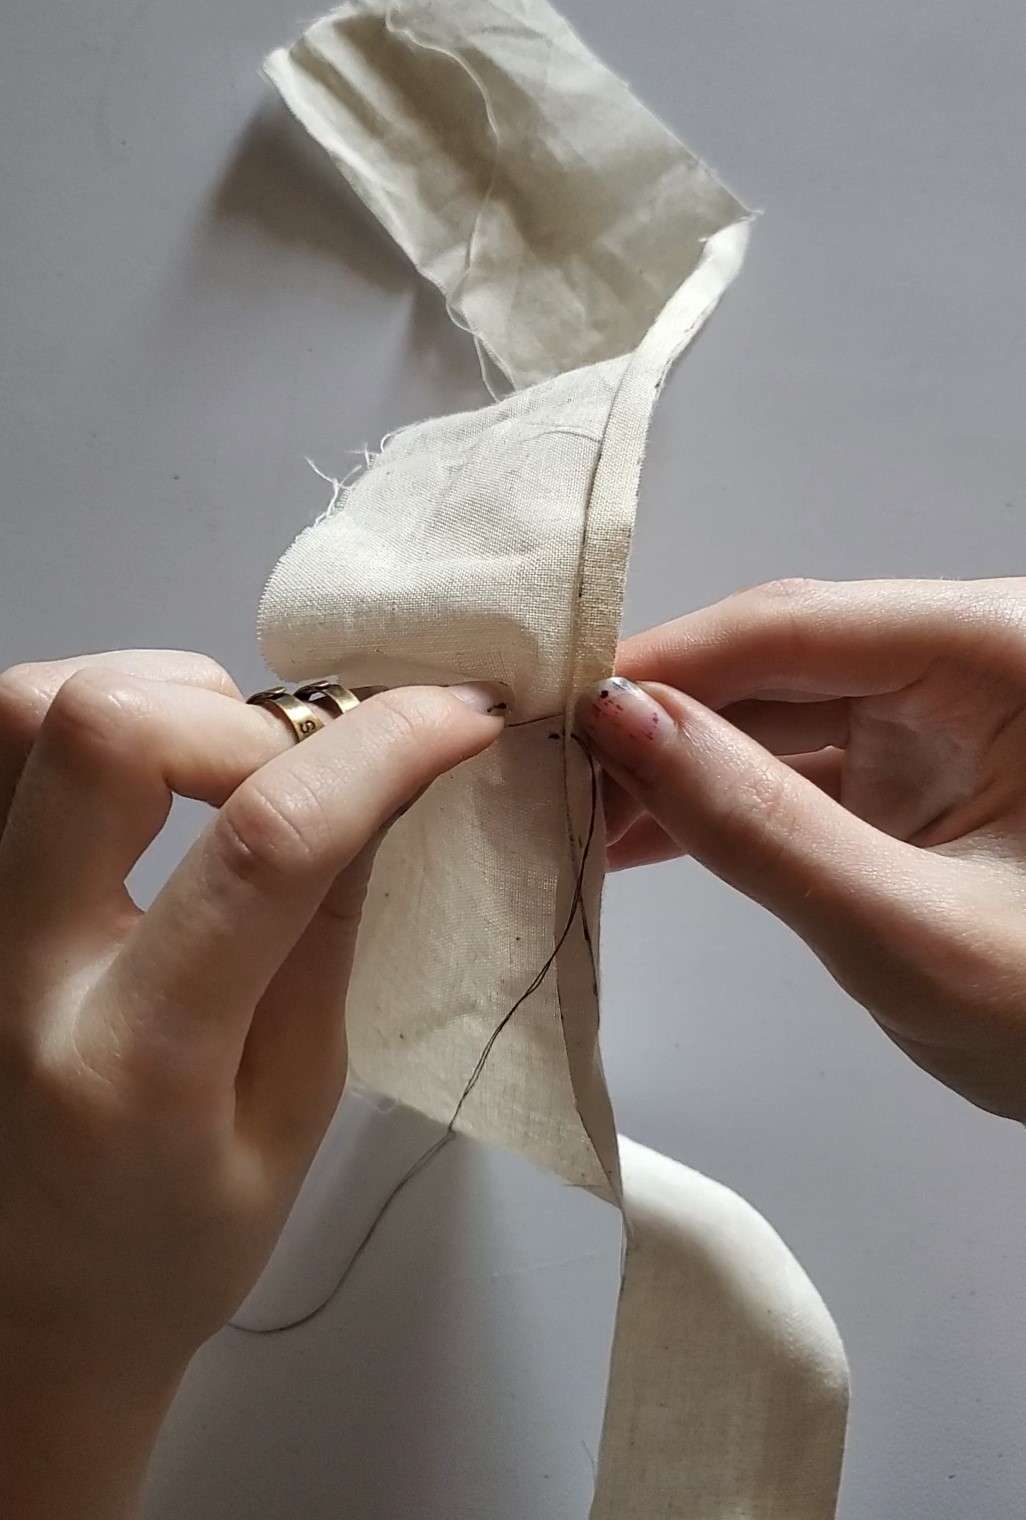
Repeat the process until you run out of thread or you reach the end of the seam.
When pulling the thread through, it is possible for the thread to start knotting up against itself, so pull the thread through slowly. If a knot forms, gently tug and wiggle the thread with your nail to see if it will unravel. If it does not, you might have to cut the thread, tie the thread off so the seam won’t unthread, and restart where the knot developed.

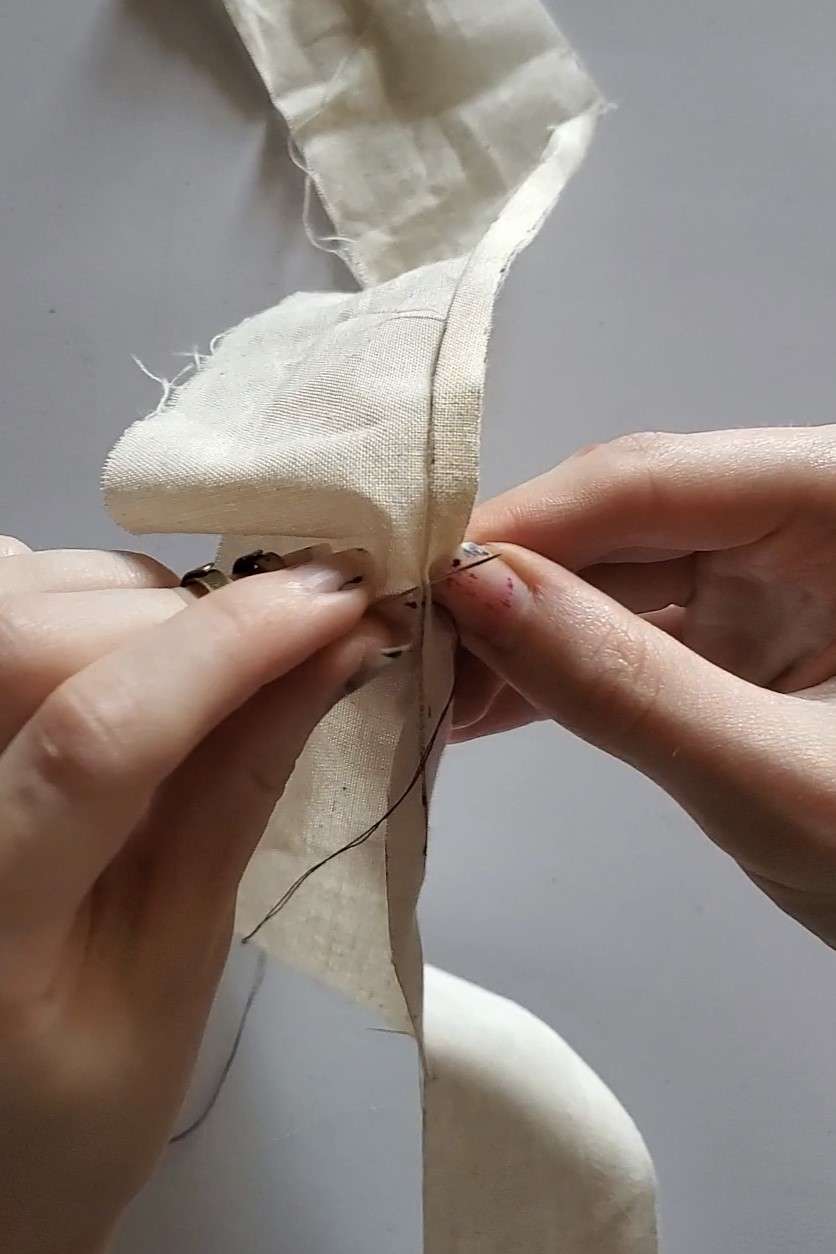
When the thread reaches the end and the loop is formed, try to keep the tension of the loop consistent throughout the whole hem. If you pull too tight, the fabric will start to pucker, and if it’s too loose, the seam might move around or the thread could snap and unravel.
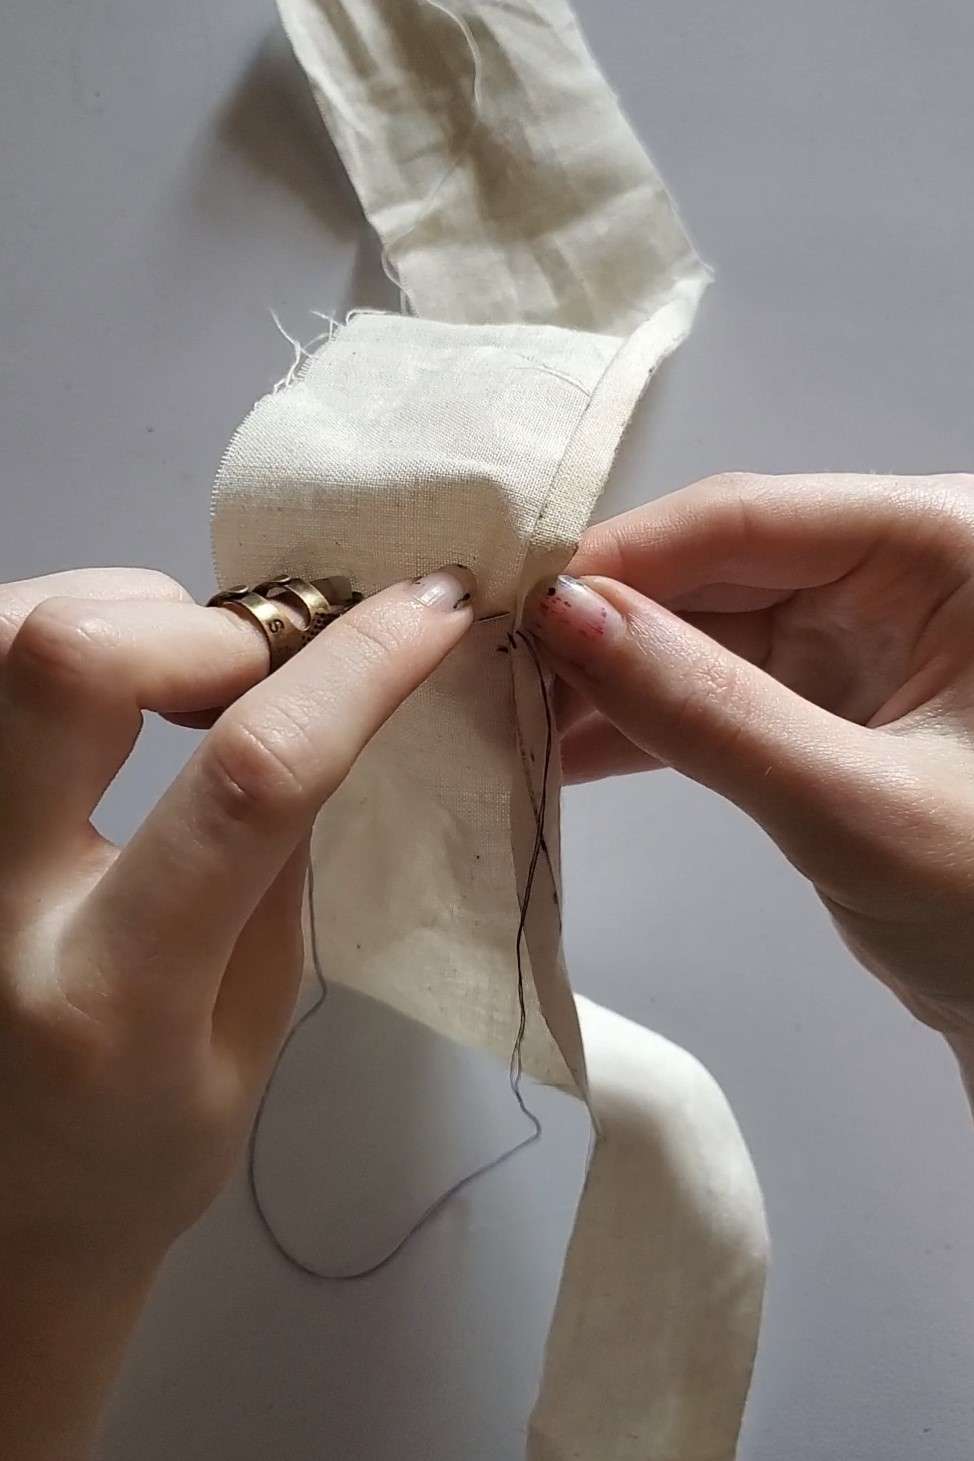
Continue repeating these steps until you reach the end of your seam or run out of thread. Also note that I am pushing the needle in an upward direction. This is my preferred method of pushing the needle, but it is possible to angle the needle downward, which I will show in an upcoming step. The direction you pick does not matter, however; it is important to remain consistent, so pick a direction and stick with it through the whole process.
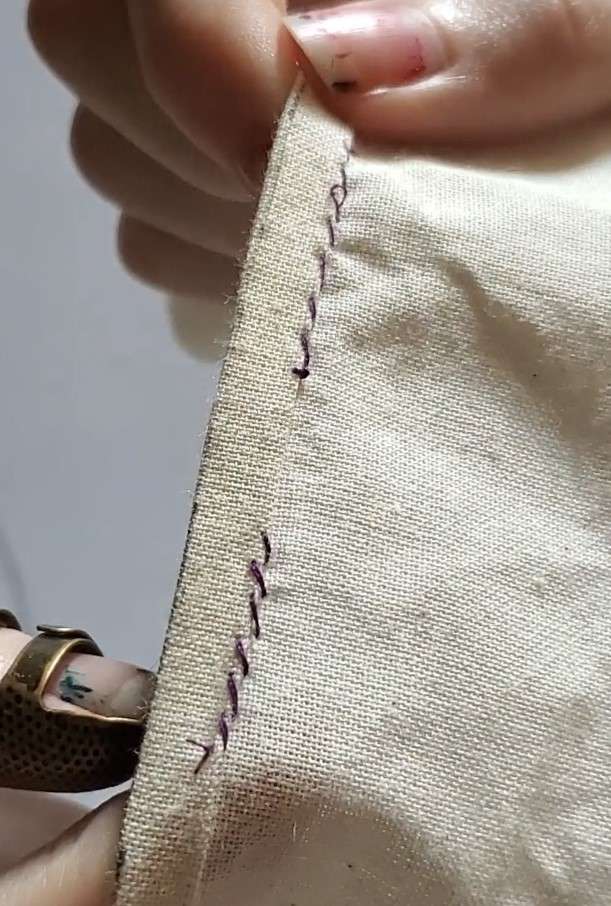
Keep your stitches equally distant from each other so that they look uniform when finished. This consistency also helps the integrity of the seam by keeping an equal amount of tension around the whole hem instead of dealing with large gaps or overcrowding that might cause popped seams at a later date. Also note that if the tension on the thread isn’t consistent, it can sometimes cause bubbling in the thread itself. Notice the third stitch has a small loop that sticks up because the thread wasn’t pulled all the way through properly. This generally won’t hurt the structure of the hem, but it is something to look out for when hand sewing any type of seam.
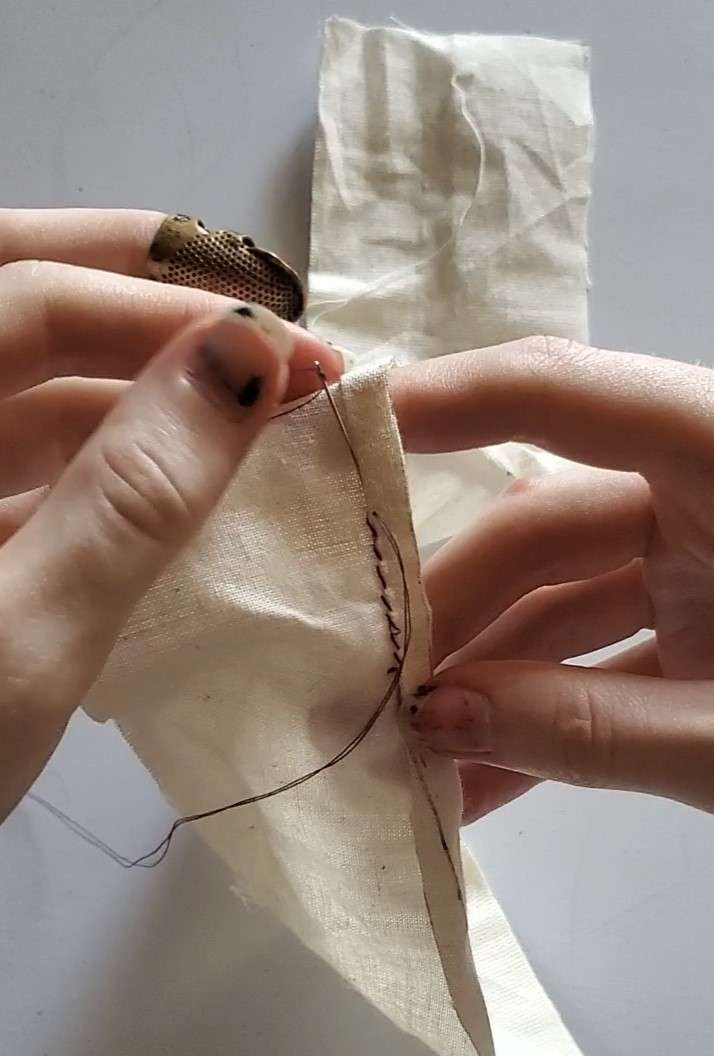
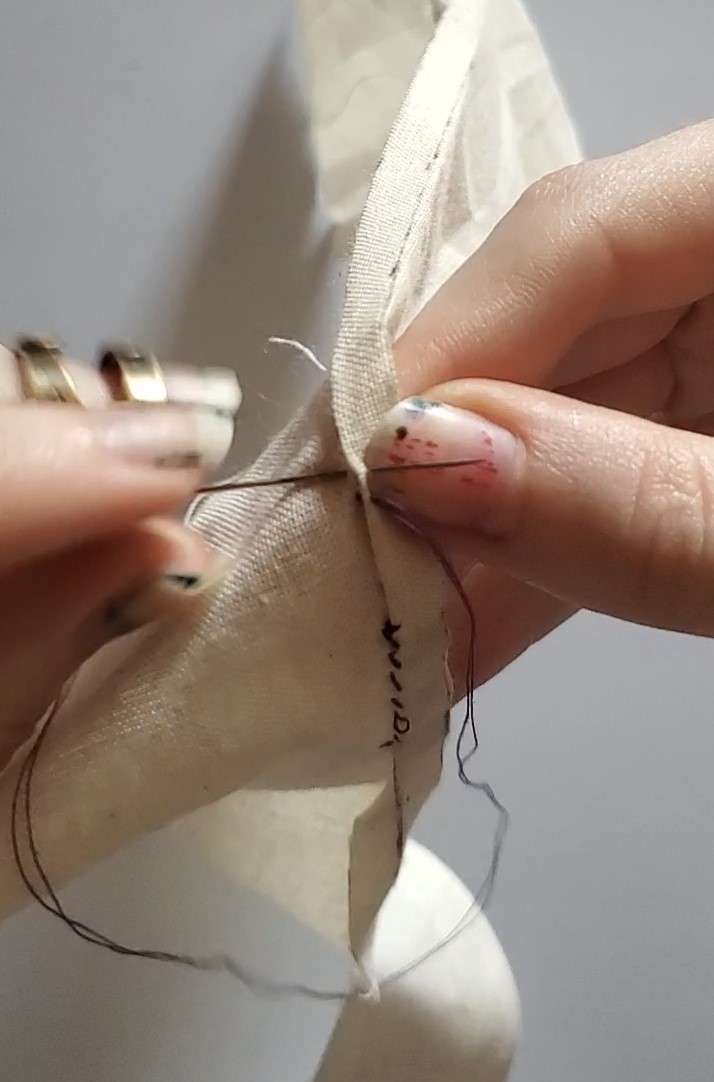
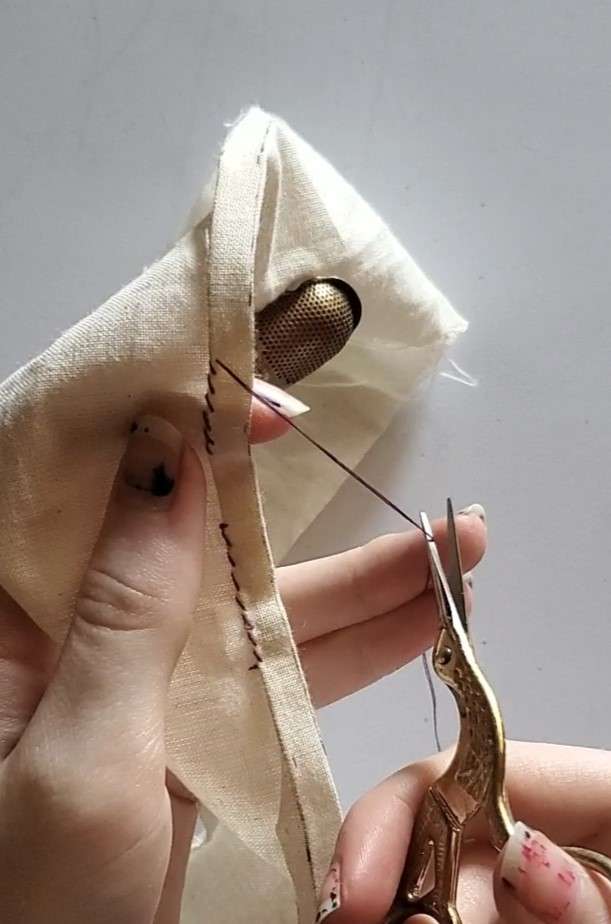
There are two ways to finish the seam. We’ll go over the first way here. This method is called burying the thread. You can either snag the main section of fabric like you would to continue whip stitching before pushing the needle down the seam or just push the needle down the seam without it.
Push the needle down the channel, being careful not to puncture the fabric until it has reached the distance of thread you want to bury, then push the needle through the fabric. The amount of thread you bury is up to you. The longer the thread, the more secure it is in the channel, but it’s not necessary to go crazy with it; a short to medium length is all that’s really necessary to secure the seam.
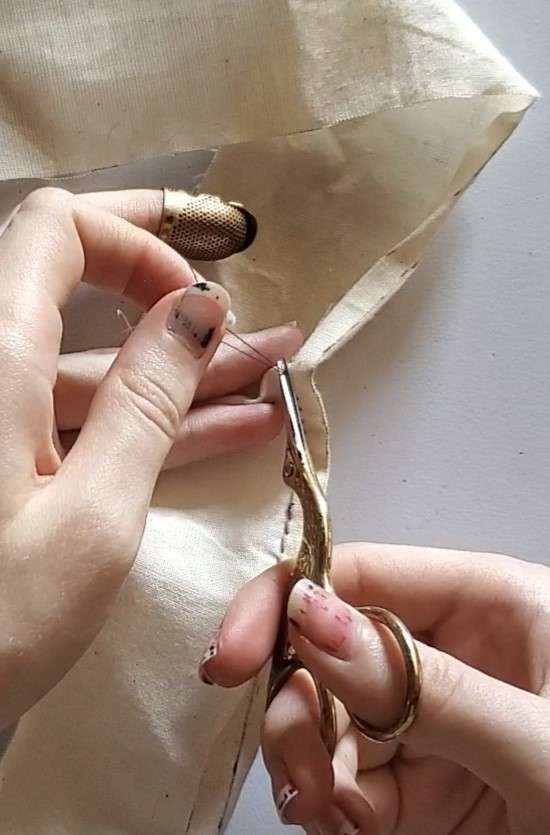
Pull the needle and thread through until the last loop has the same tension as the rest of the hem.
Cut the thread close to the material, but be careful not to cut into the actual fabric.
Gently straighten the fabric, and the very end of the thread will disappear back into the channel. This method of finishing does run the risk of the last loop or two becoming a little looser than the rest of the seam. This doesn’t normally cause any issues with the integrity of the garment, however, especially once the seam is continued with the new section of thread. Just be careful not to snag it until it can be reinforced with the next sections.
Changing the Angle
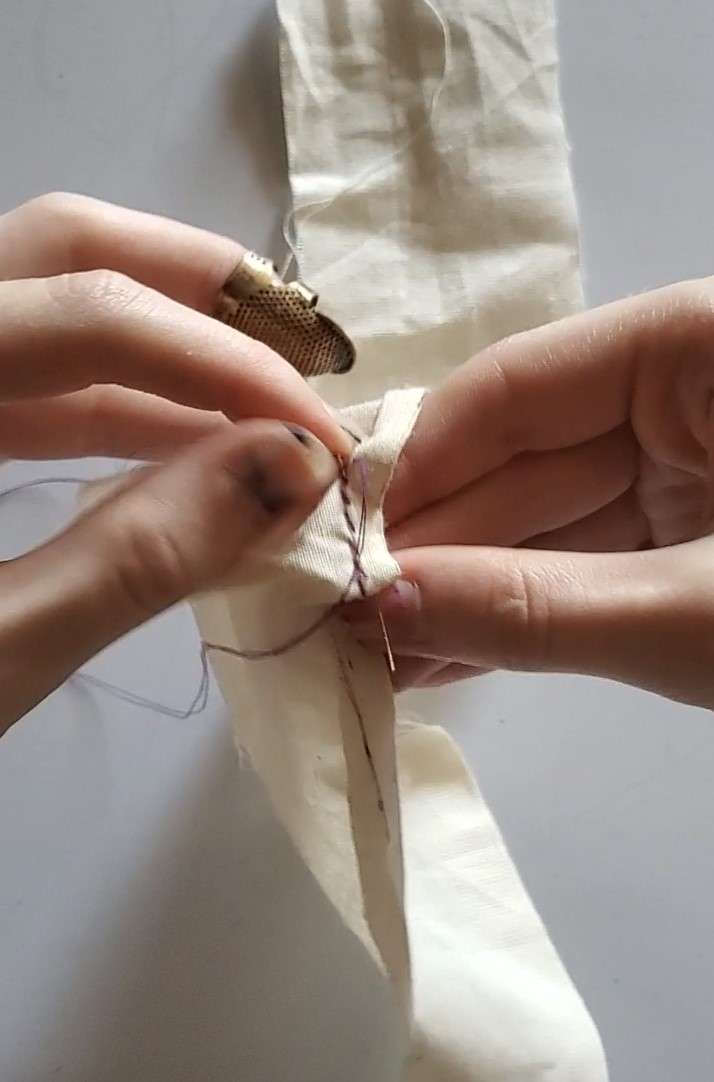
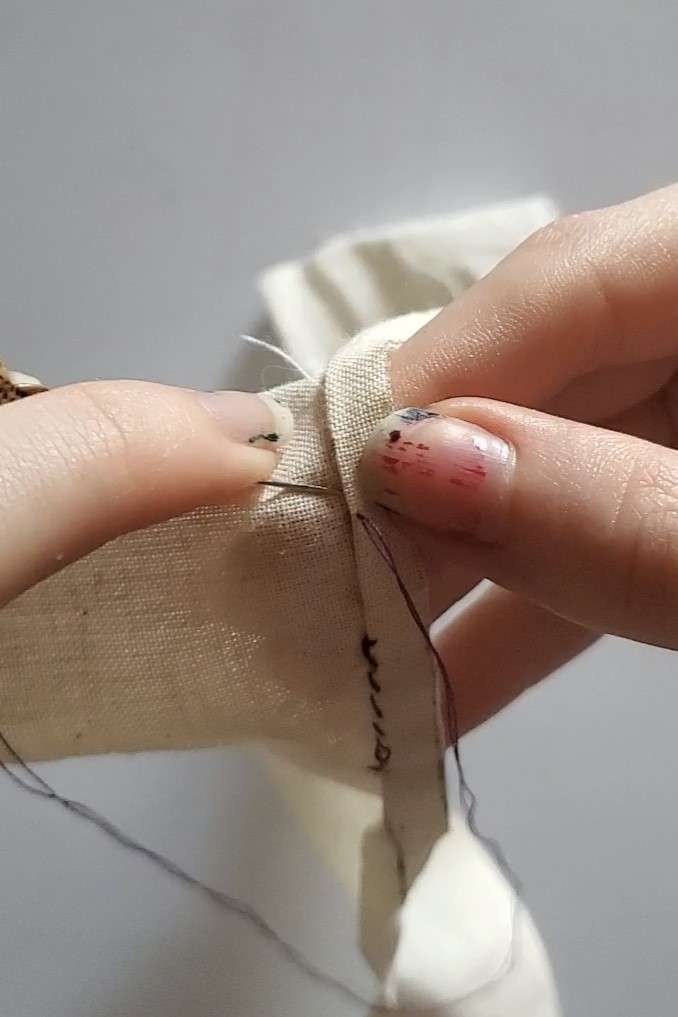
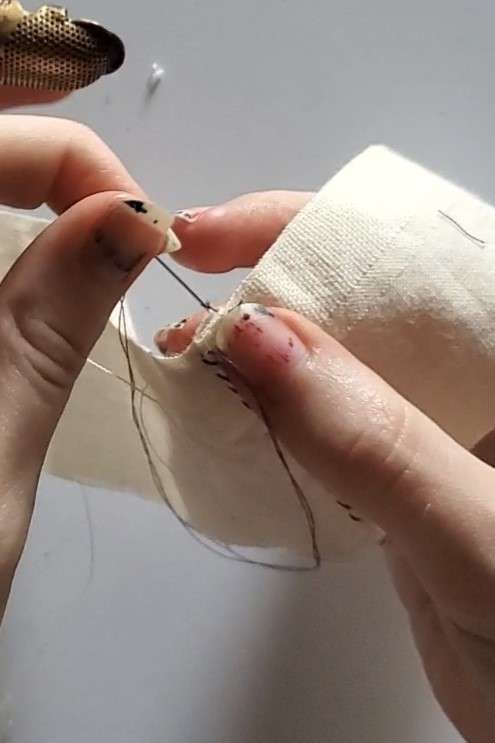
To hide the knot at the end of the thread, place your needle against the edge of the rolled hem, being sure not to snag any of the main section of the fabric for the first stitch.
Push the needle through the rolled hem and pull the thread all the way through until the knot catches on the underside of the hem.
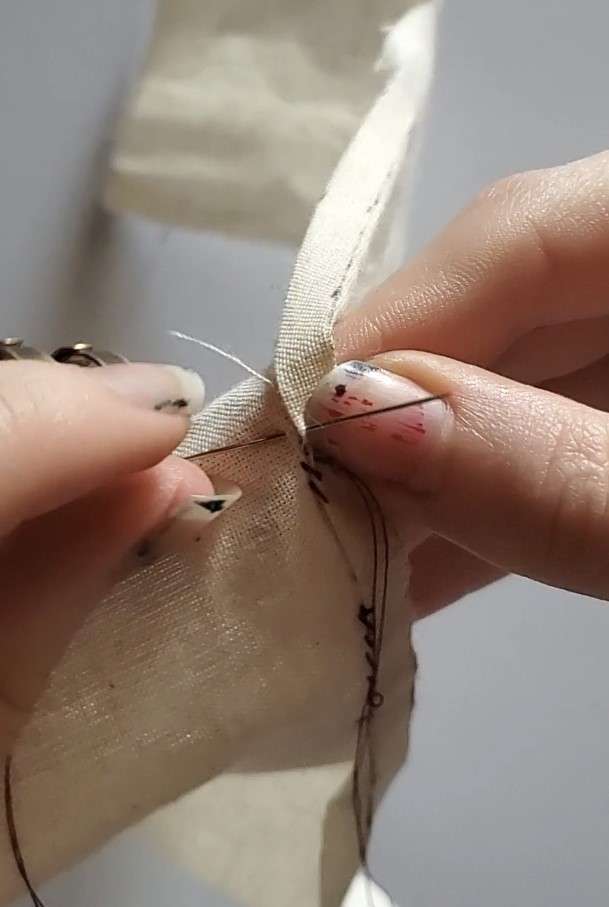
Gently tuck the loop under the rolled hem and hold it in place until the next loop is stitched.
Continue the same steps as previously stated, making sure to snag the main material now that the knot is hidden.

The loops come out pointing in the same direction, no matter which way you point your needle. However, as I am left handed and doing this with the opposite hand, my stitches will look different than if they were done right-handed. So don’t worry about which direction the angle of the thread looks to be going; pick a method that is most comfortable for you and stick with it.
The second method of finishing the seam is to tie a knot into the thread where you stopped. Cut the thread a moderate distance from the edge of the seam.
Tie a basic knot in the thread. Be sure not to tighten this too much as well, as it can also cause a pucker in the material. Then knot one more time to ensure it is well secured. There are other knotting methods (both professional and/or faster) you can look into, but I’m showing the most basic and beginner-friendly one here.
Trim the thread close to the knot. The downside to this method is that the knot is visible, but if you are using similar colored thread or the seam is on the inside of the garment, this should not be noticeable and is a perfectly acceptable option on a multitude of projects.
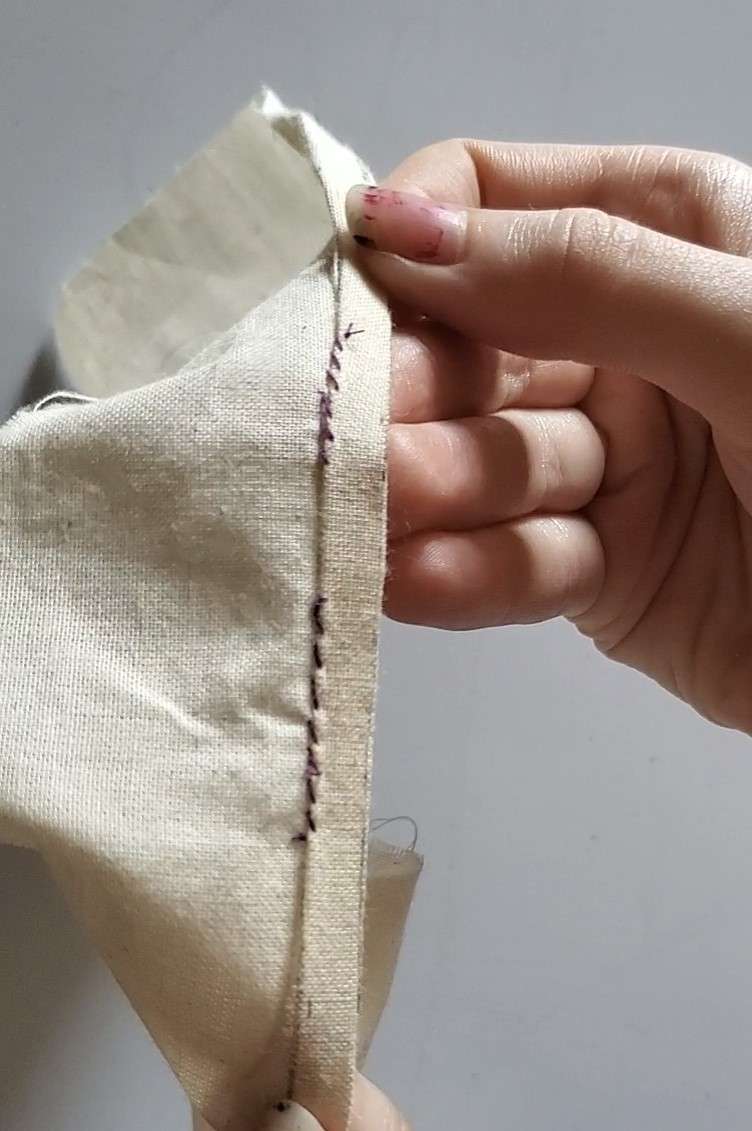
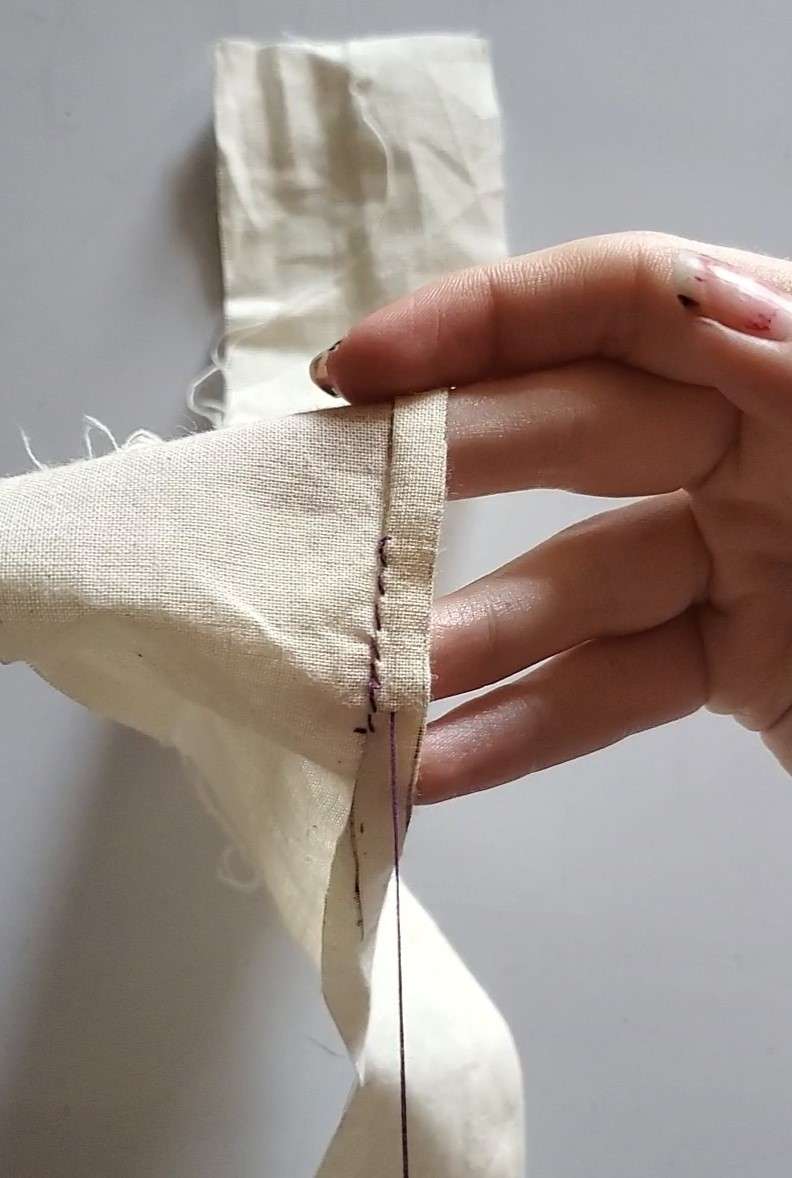
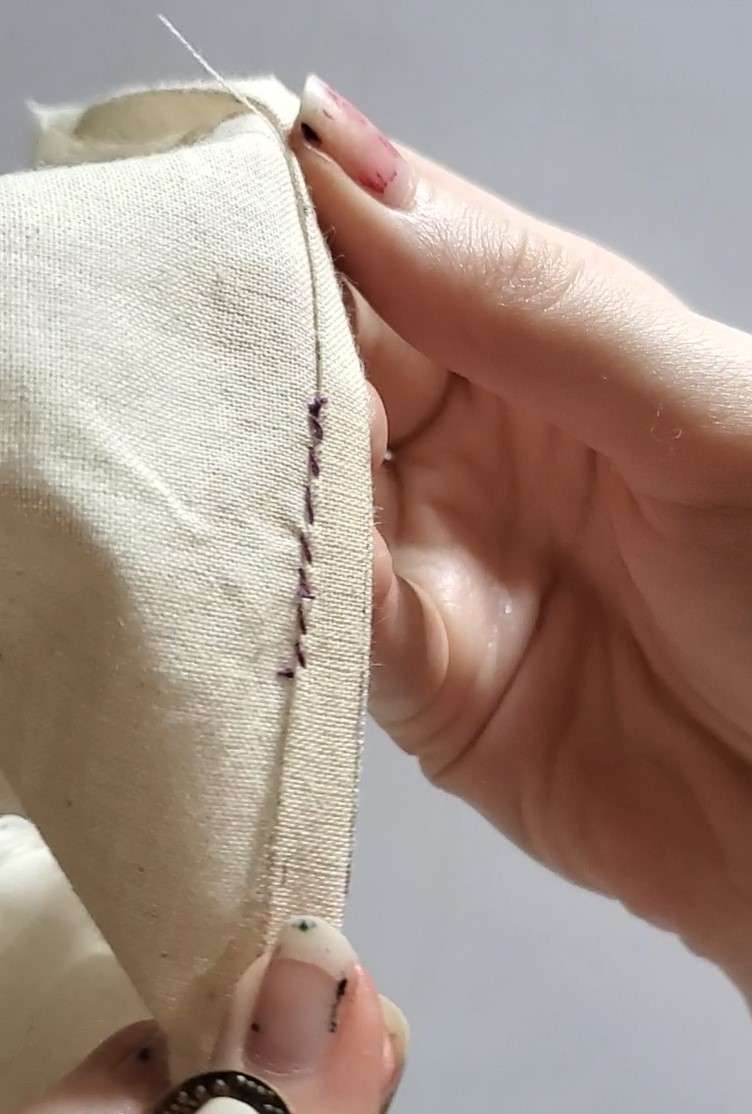
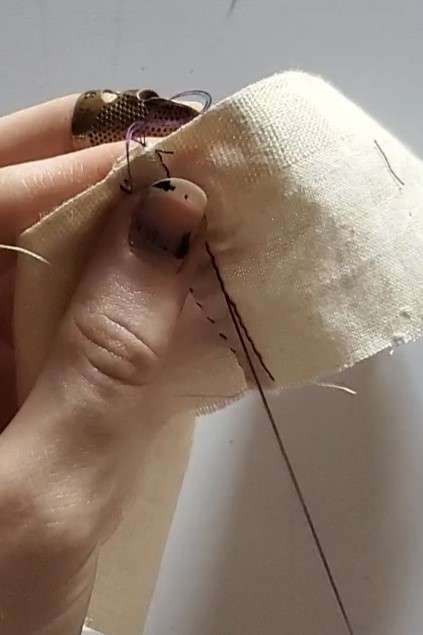
Whip Stitching A Seam
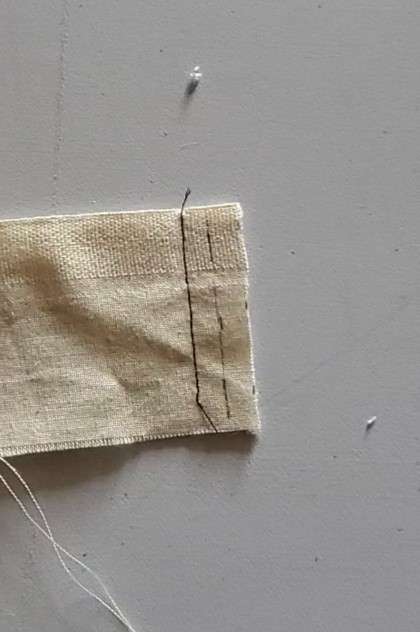
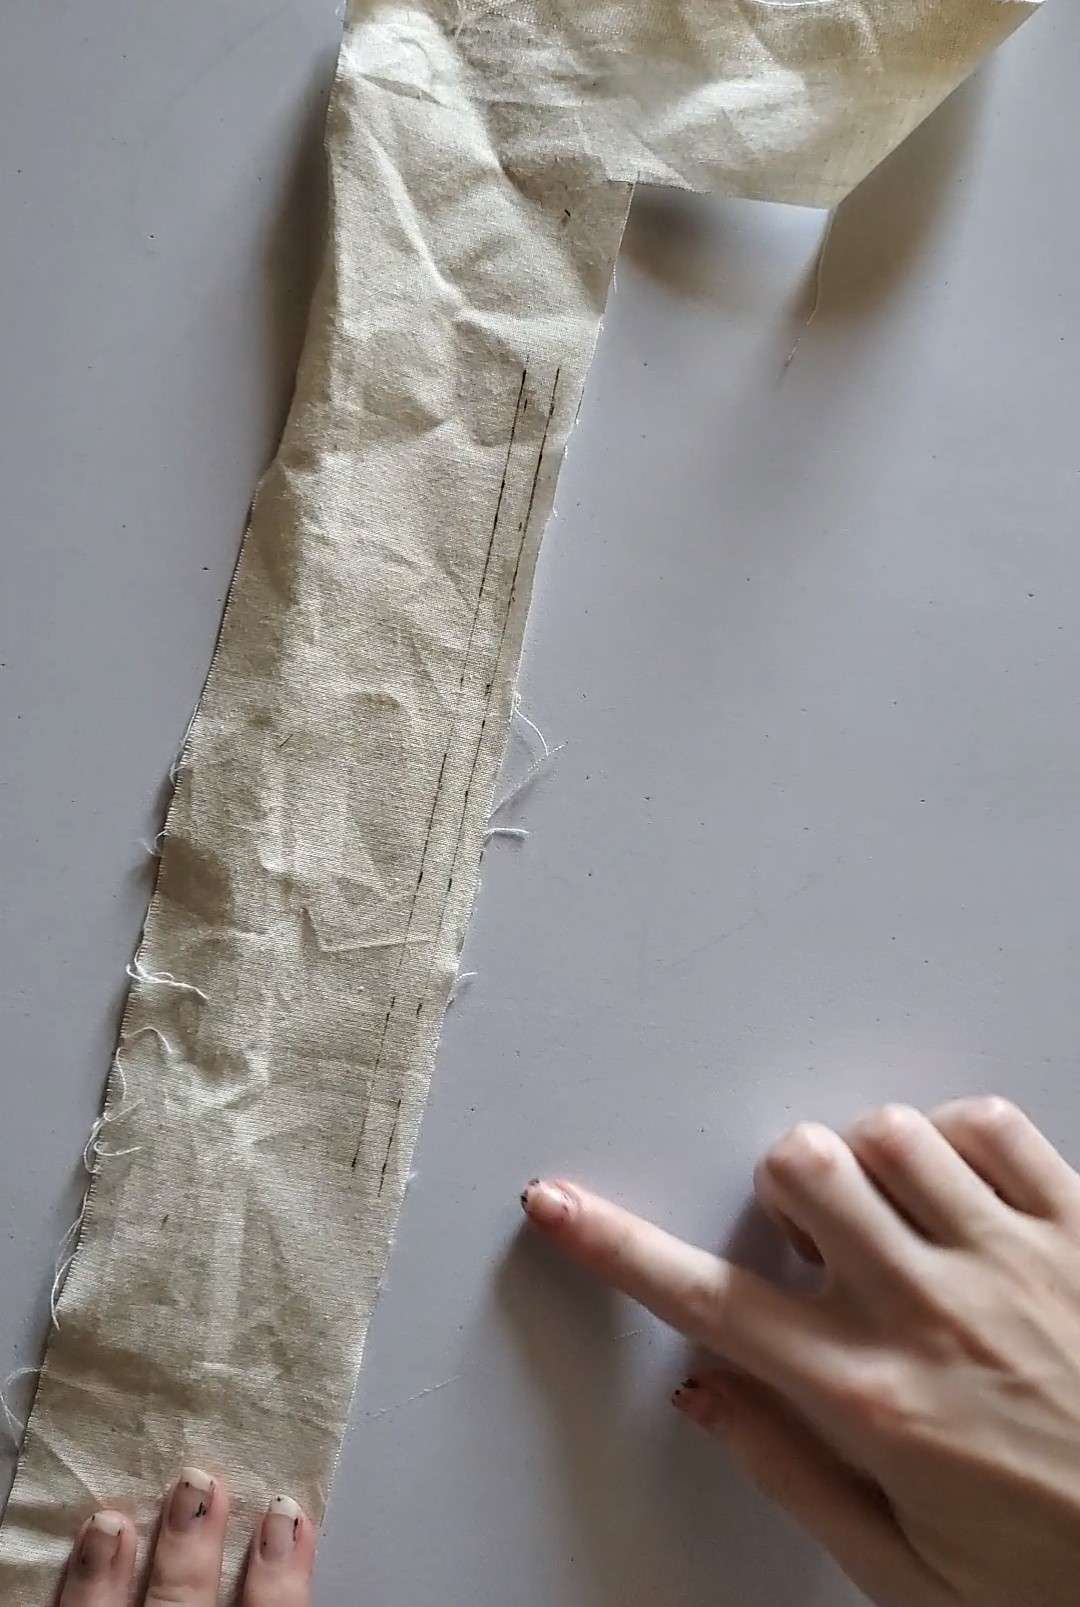
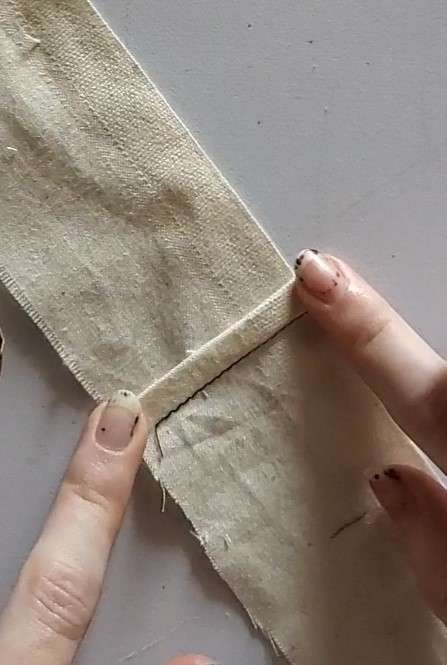
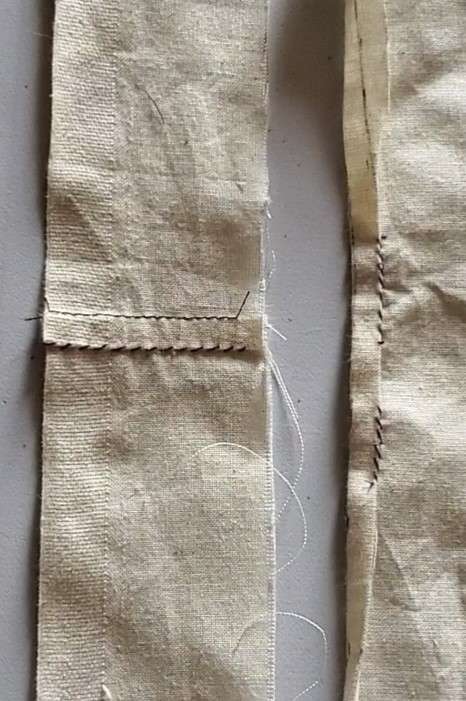
When beginning this method, your seam should look similar to the image above. My seam allowance is half an inch, and I marked a guide line half way between the end of the seam allowance and the stitch line.
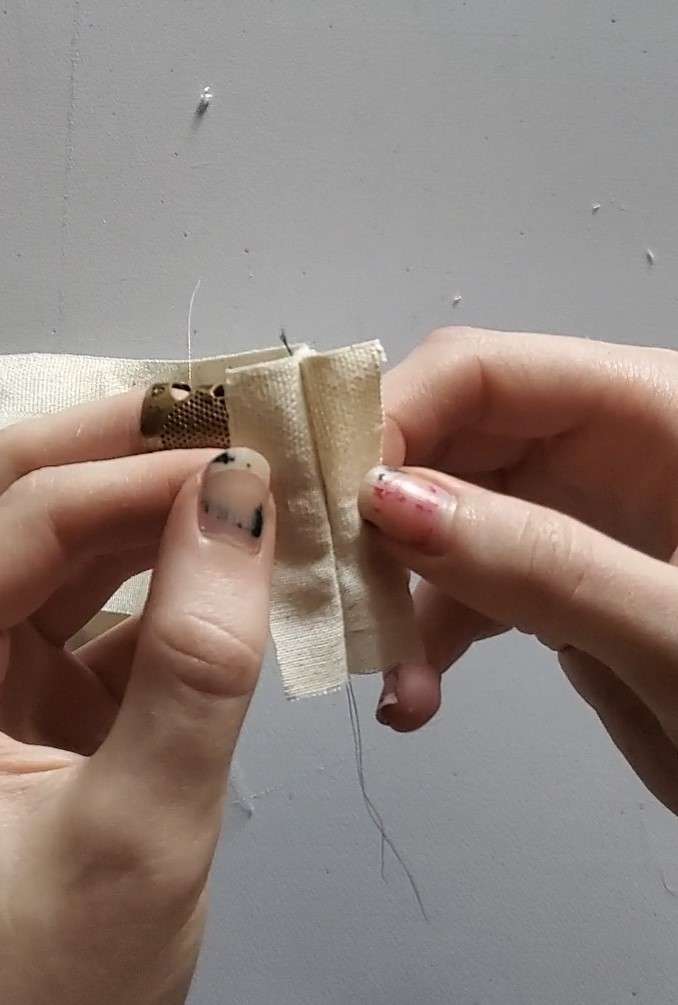
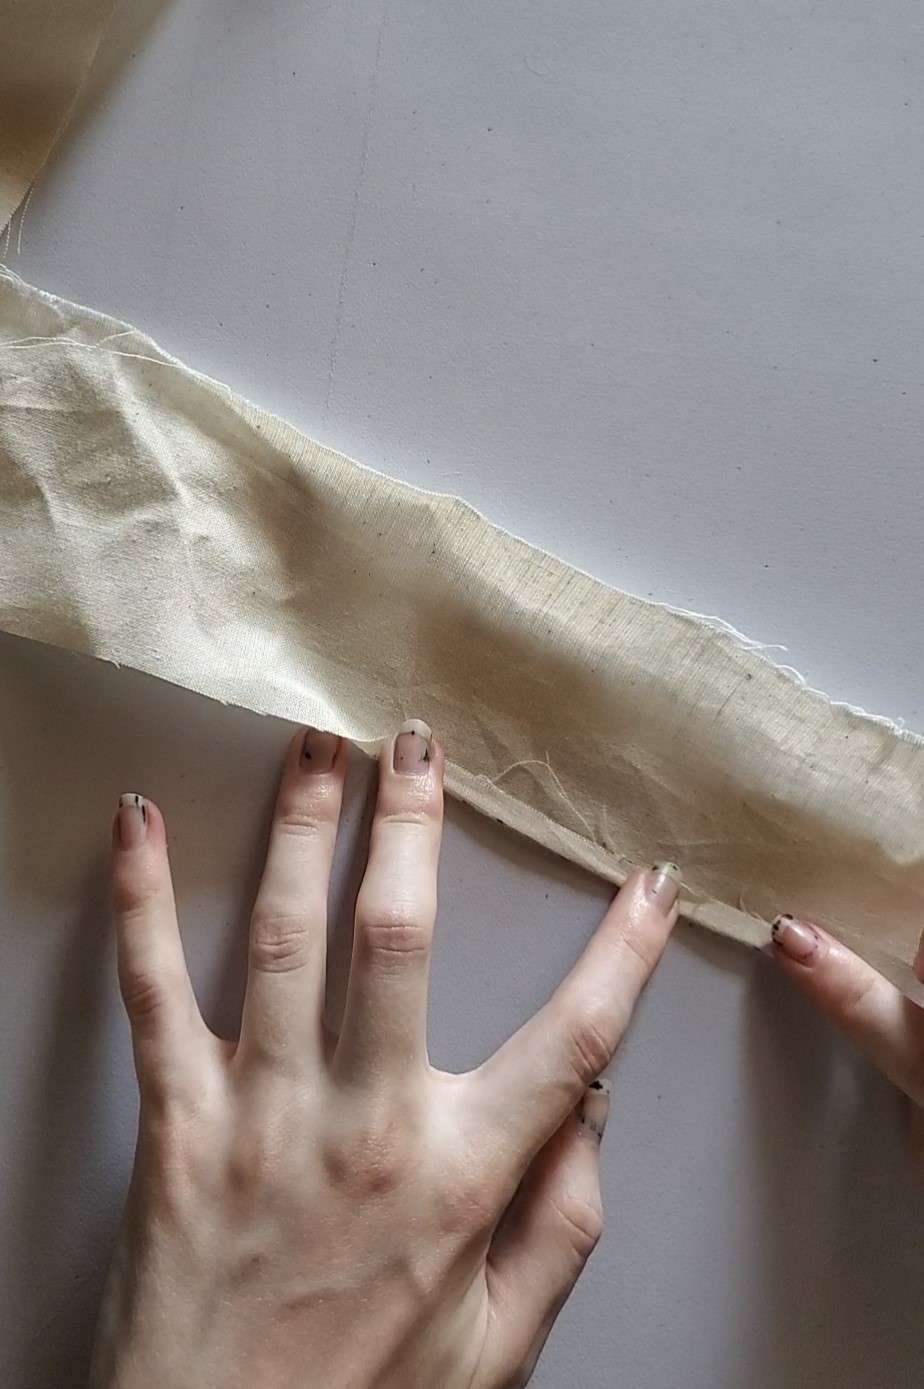
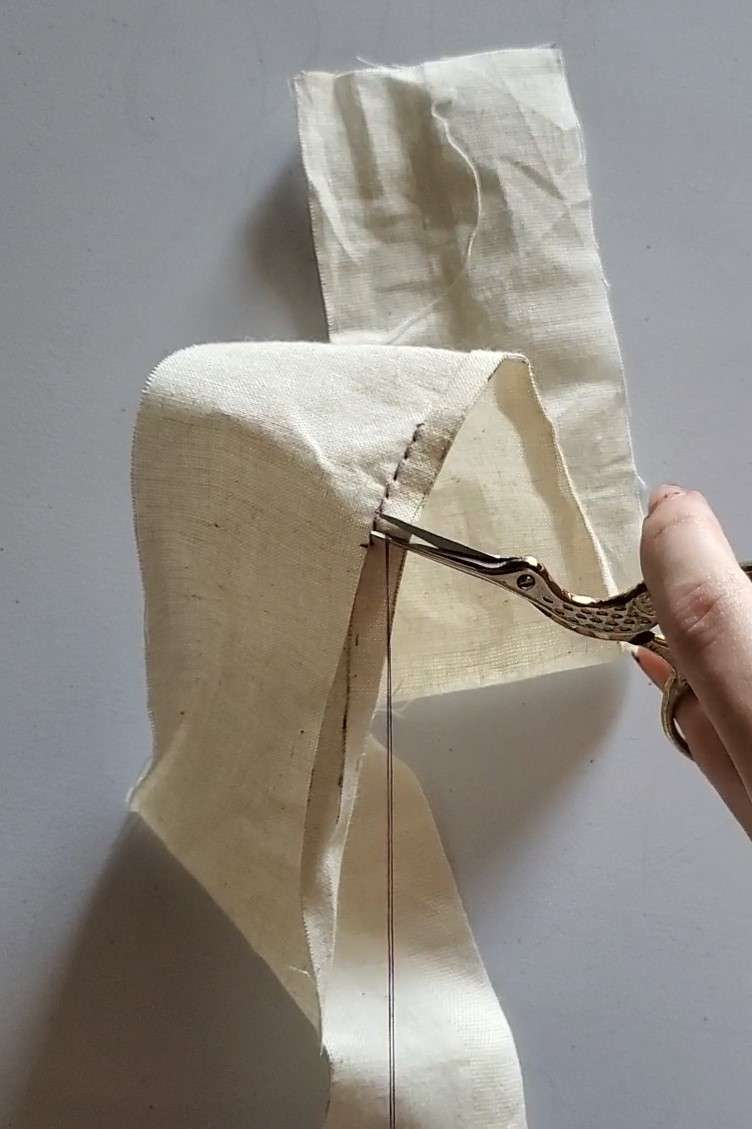
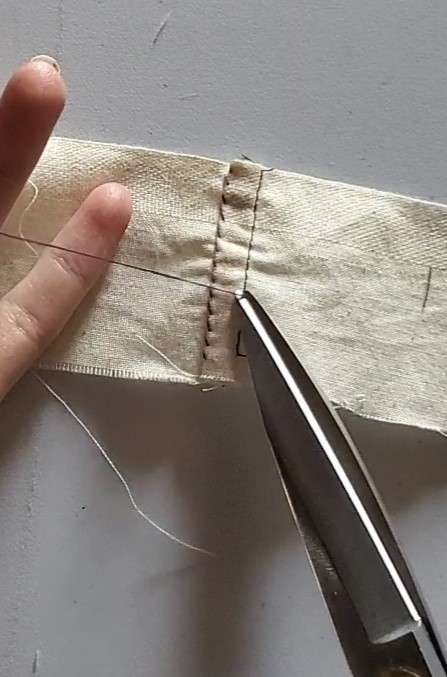
Open the seam allowance and finger press so that trimming one side is easier.
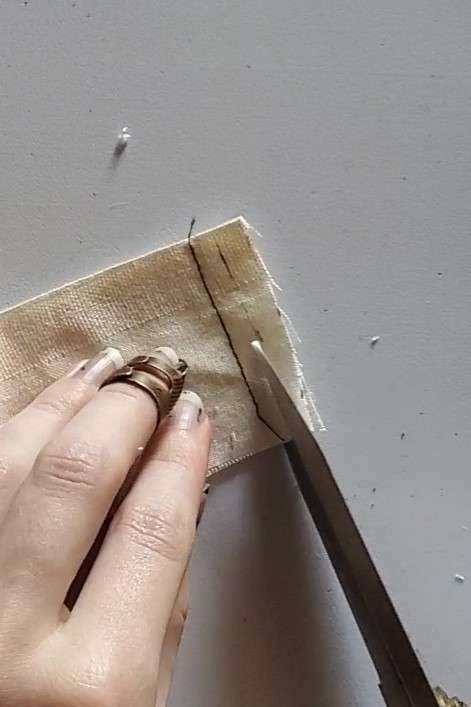
Cut the marked edge, being very careful to just trim the top layer and leave the bottom layer of the seam allowance the same length. The side that is being trimmed down is the direction in which the other layer will be pressed. For example, if this was a side seam and we wanted that seam to face the back of the garment, the edge you would want to trim shorter would be the side closest to the back of the garment.
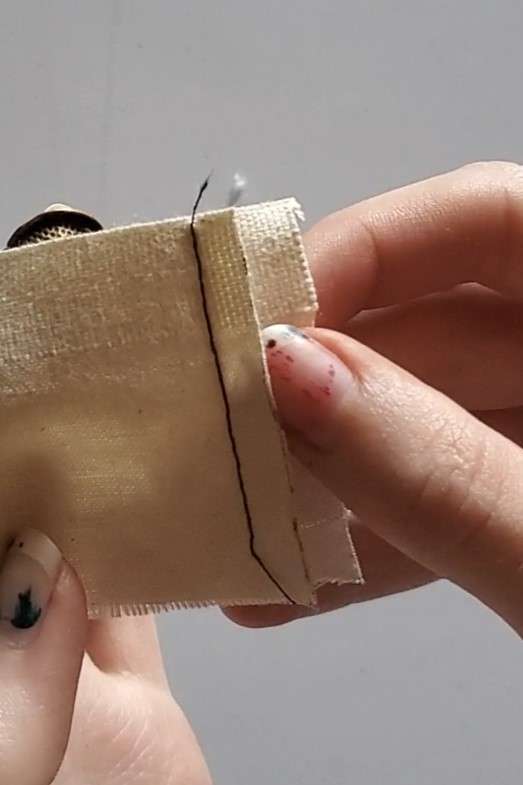
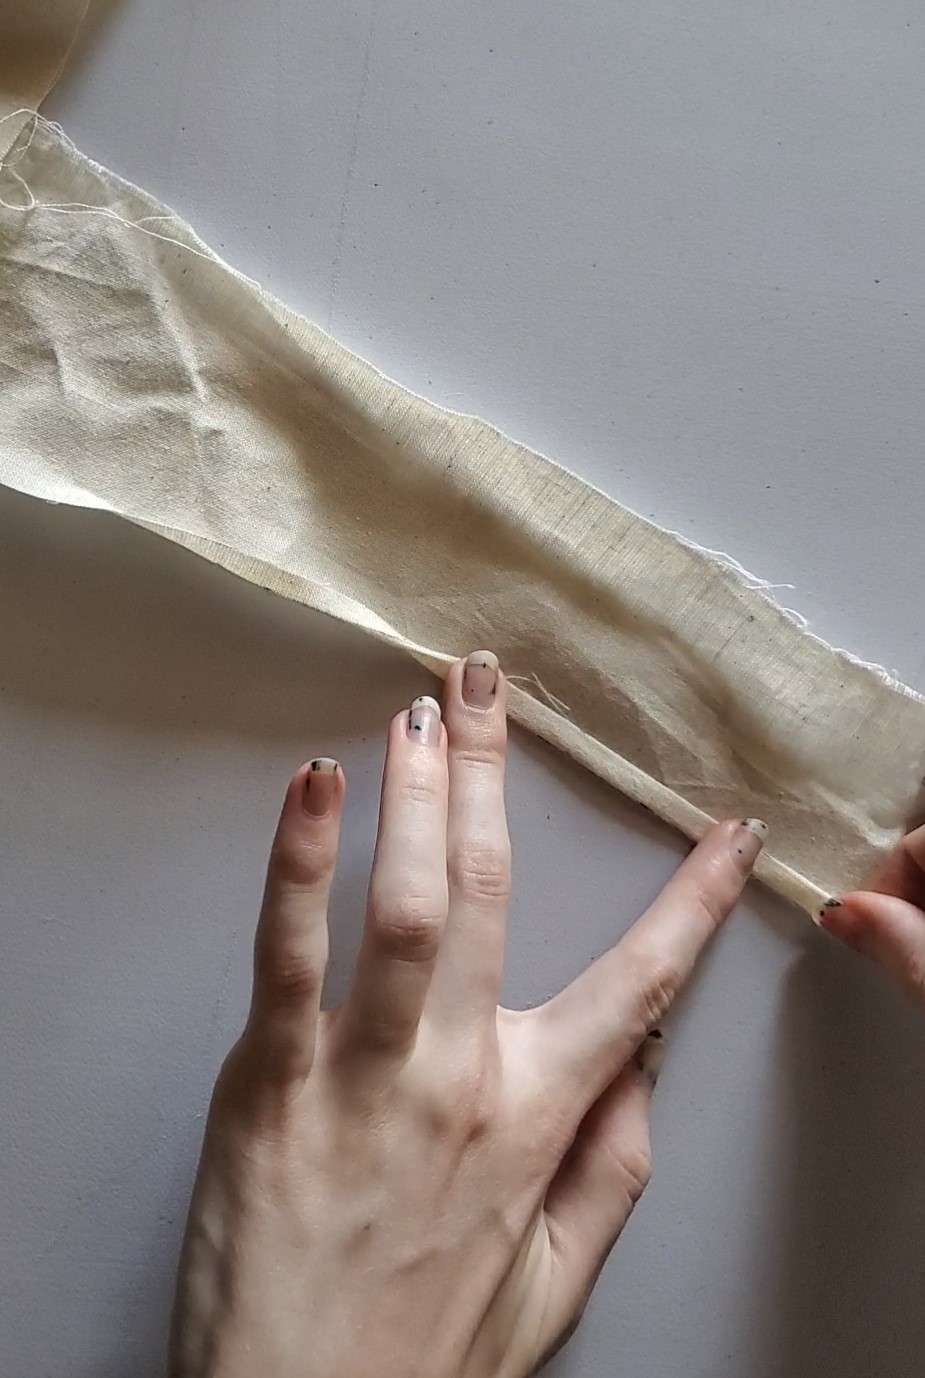
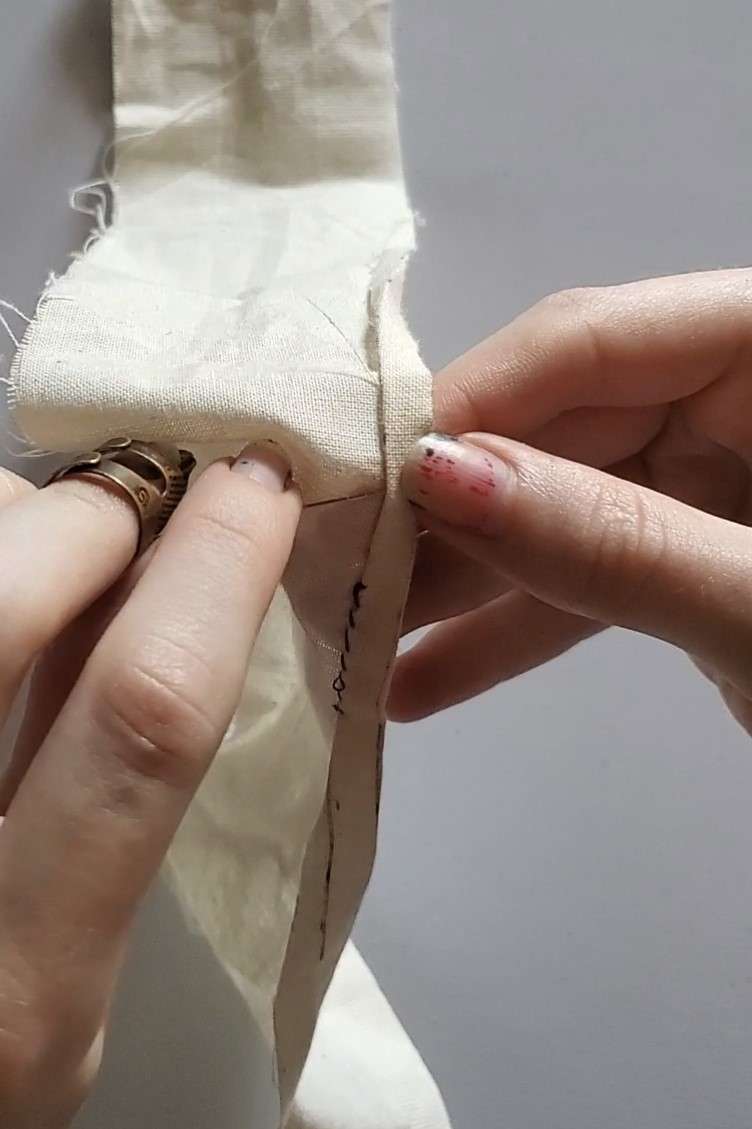
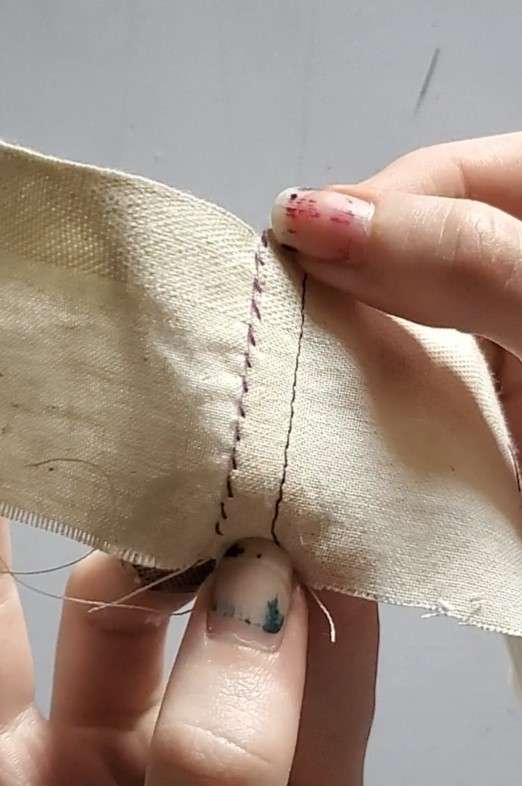
If done right, it should look similar to this.
Make sure the main section of the material is open and flat. It can be beneficial to iron the seam open and then iron both seams to the side of the larger one. This helps set the seam, makes the lines more professional-looking, and makes the whip stitching process easier.
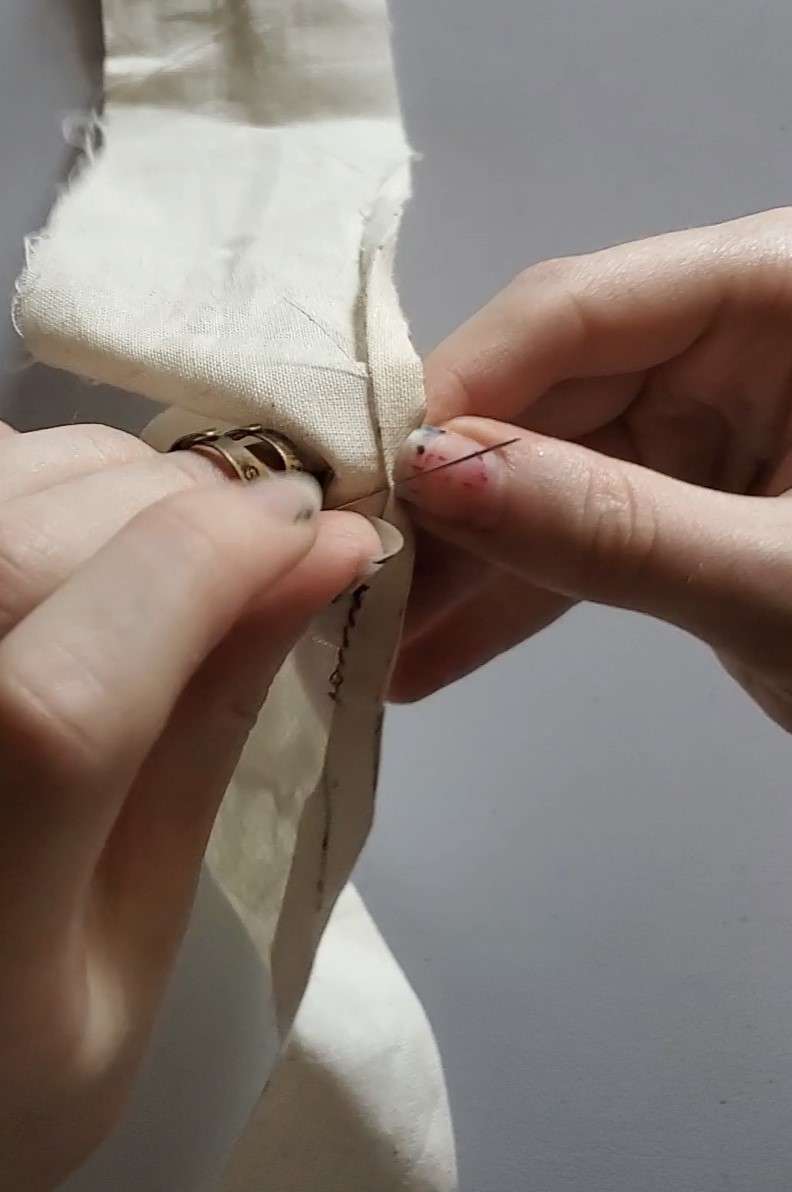
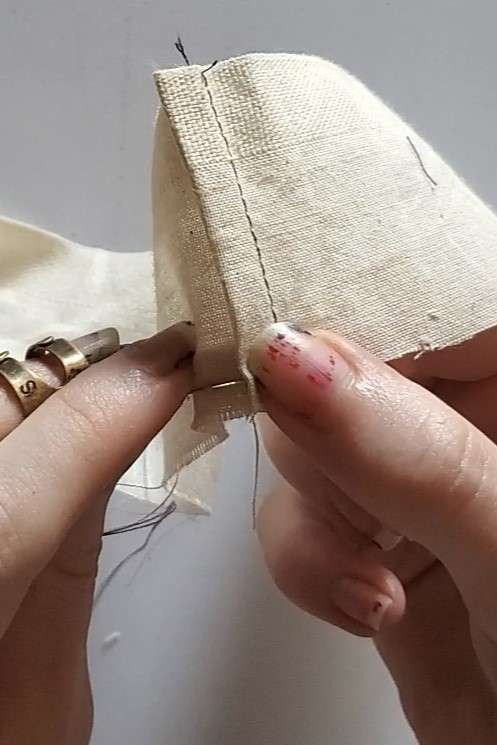
Fold the larger section over the smaller section.
Then flip the seam over to fully encase all the raw seams. Iron once more to set the seam in place before you start stitching.
Finally, repeat all the same steps as previously instructed.
Please note that while this stitch is pretty invisible from the front, there is a small section of thread that can show through depending on how many threads are snagged from the main section of the fabric, especially if using a nonmatching thread color.
And that’s it, friends. Hopefully this was thorough enough to be helpful, but if you have any questions, feel free to ask in the comments below.
Happy Sewing!
I wish I had found this sooner.