Our Pattern Guide
Reading pattern instructions can feel like a daunting task, especially when just learning to sew. It’s a lot of information to be taking in all at once. I’ve already done one blog post on how to read commercial sewing pattern instructions which you can find here. However, I think it’s important to have a post dedicated to understanding my own patterns and give the opportunity to clearly see how they are structured. I write all my patterns with the goal of clarity and simplicity, but that doesn’t make the volume of information any less overwhelming, so I’m breaking everything down into easily understandable chunks in this post.
Let’s begin by going through each section in the order they appear on the official documents.
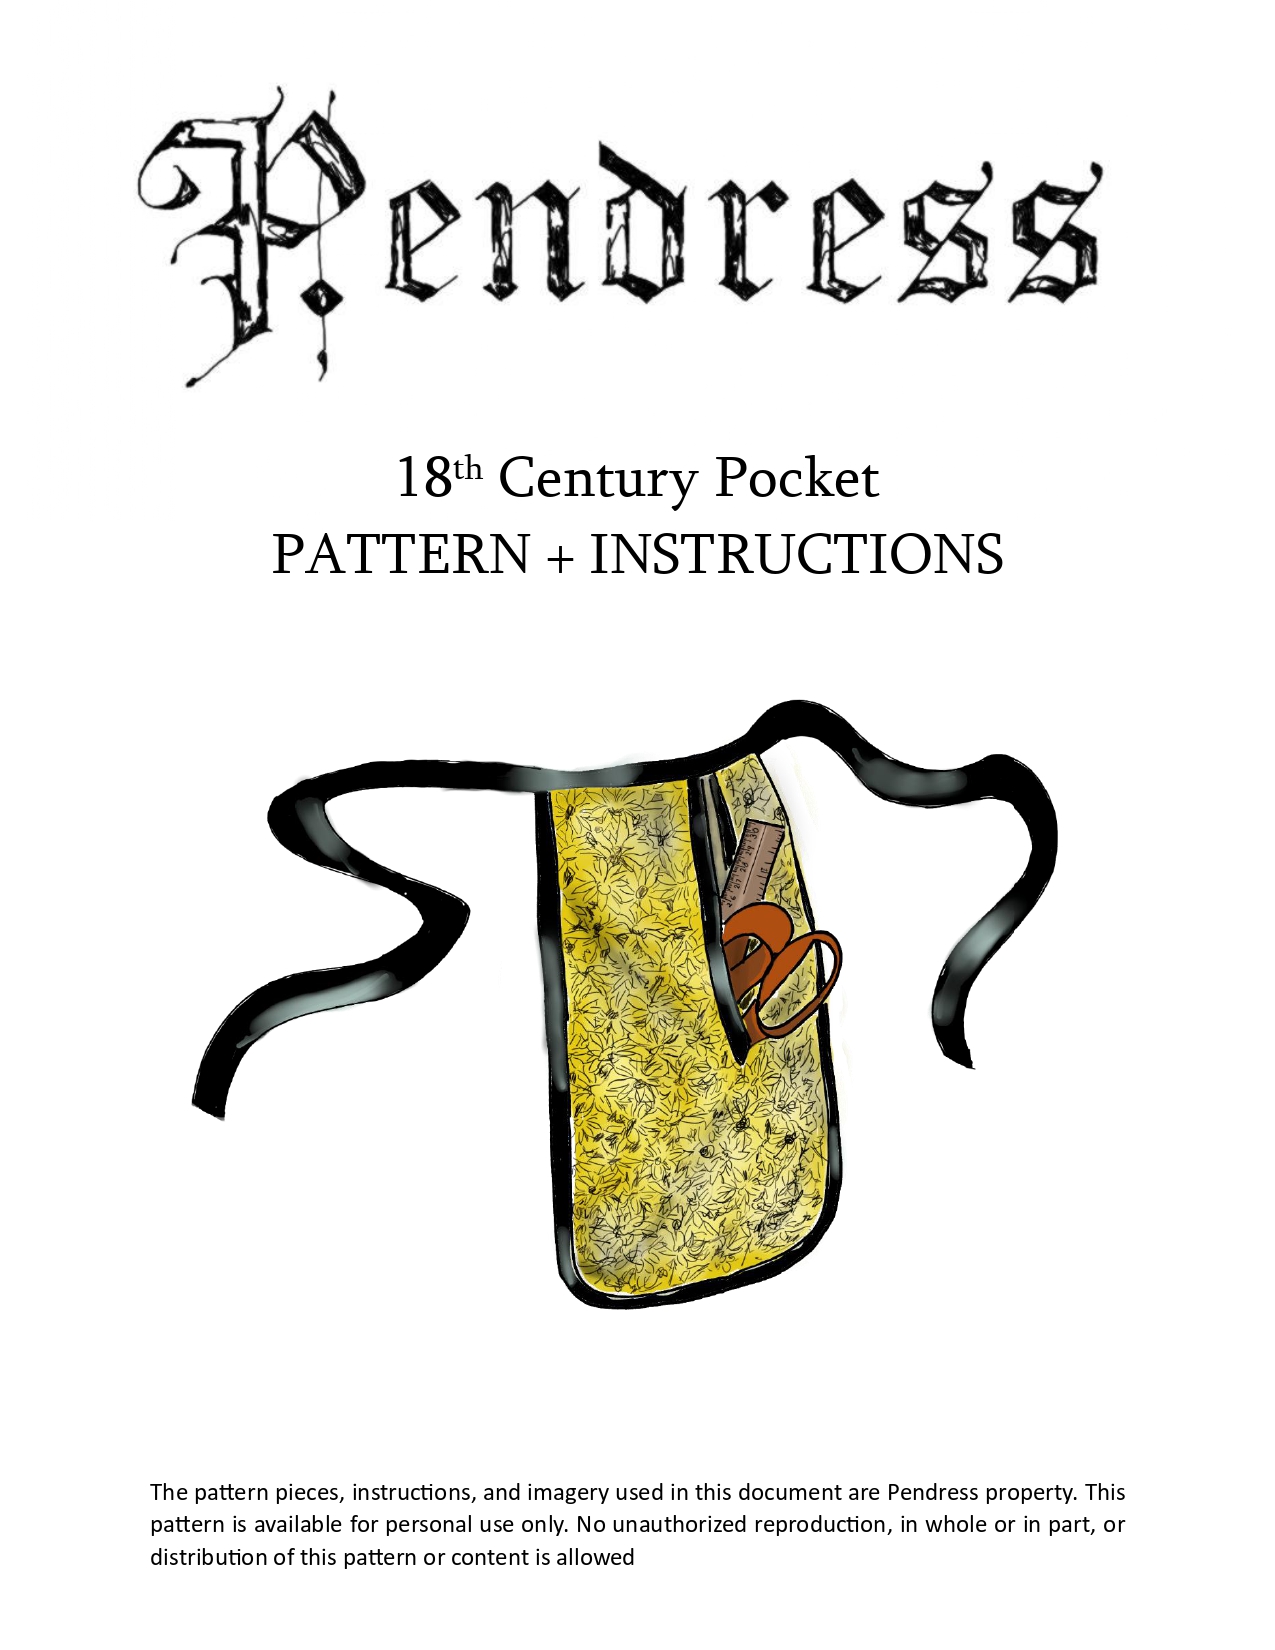
The Cover Page
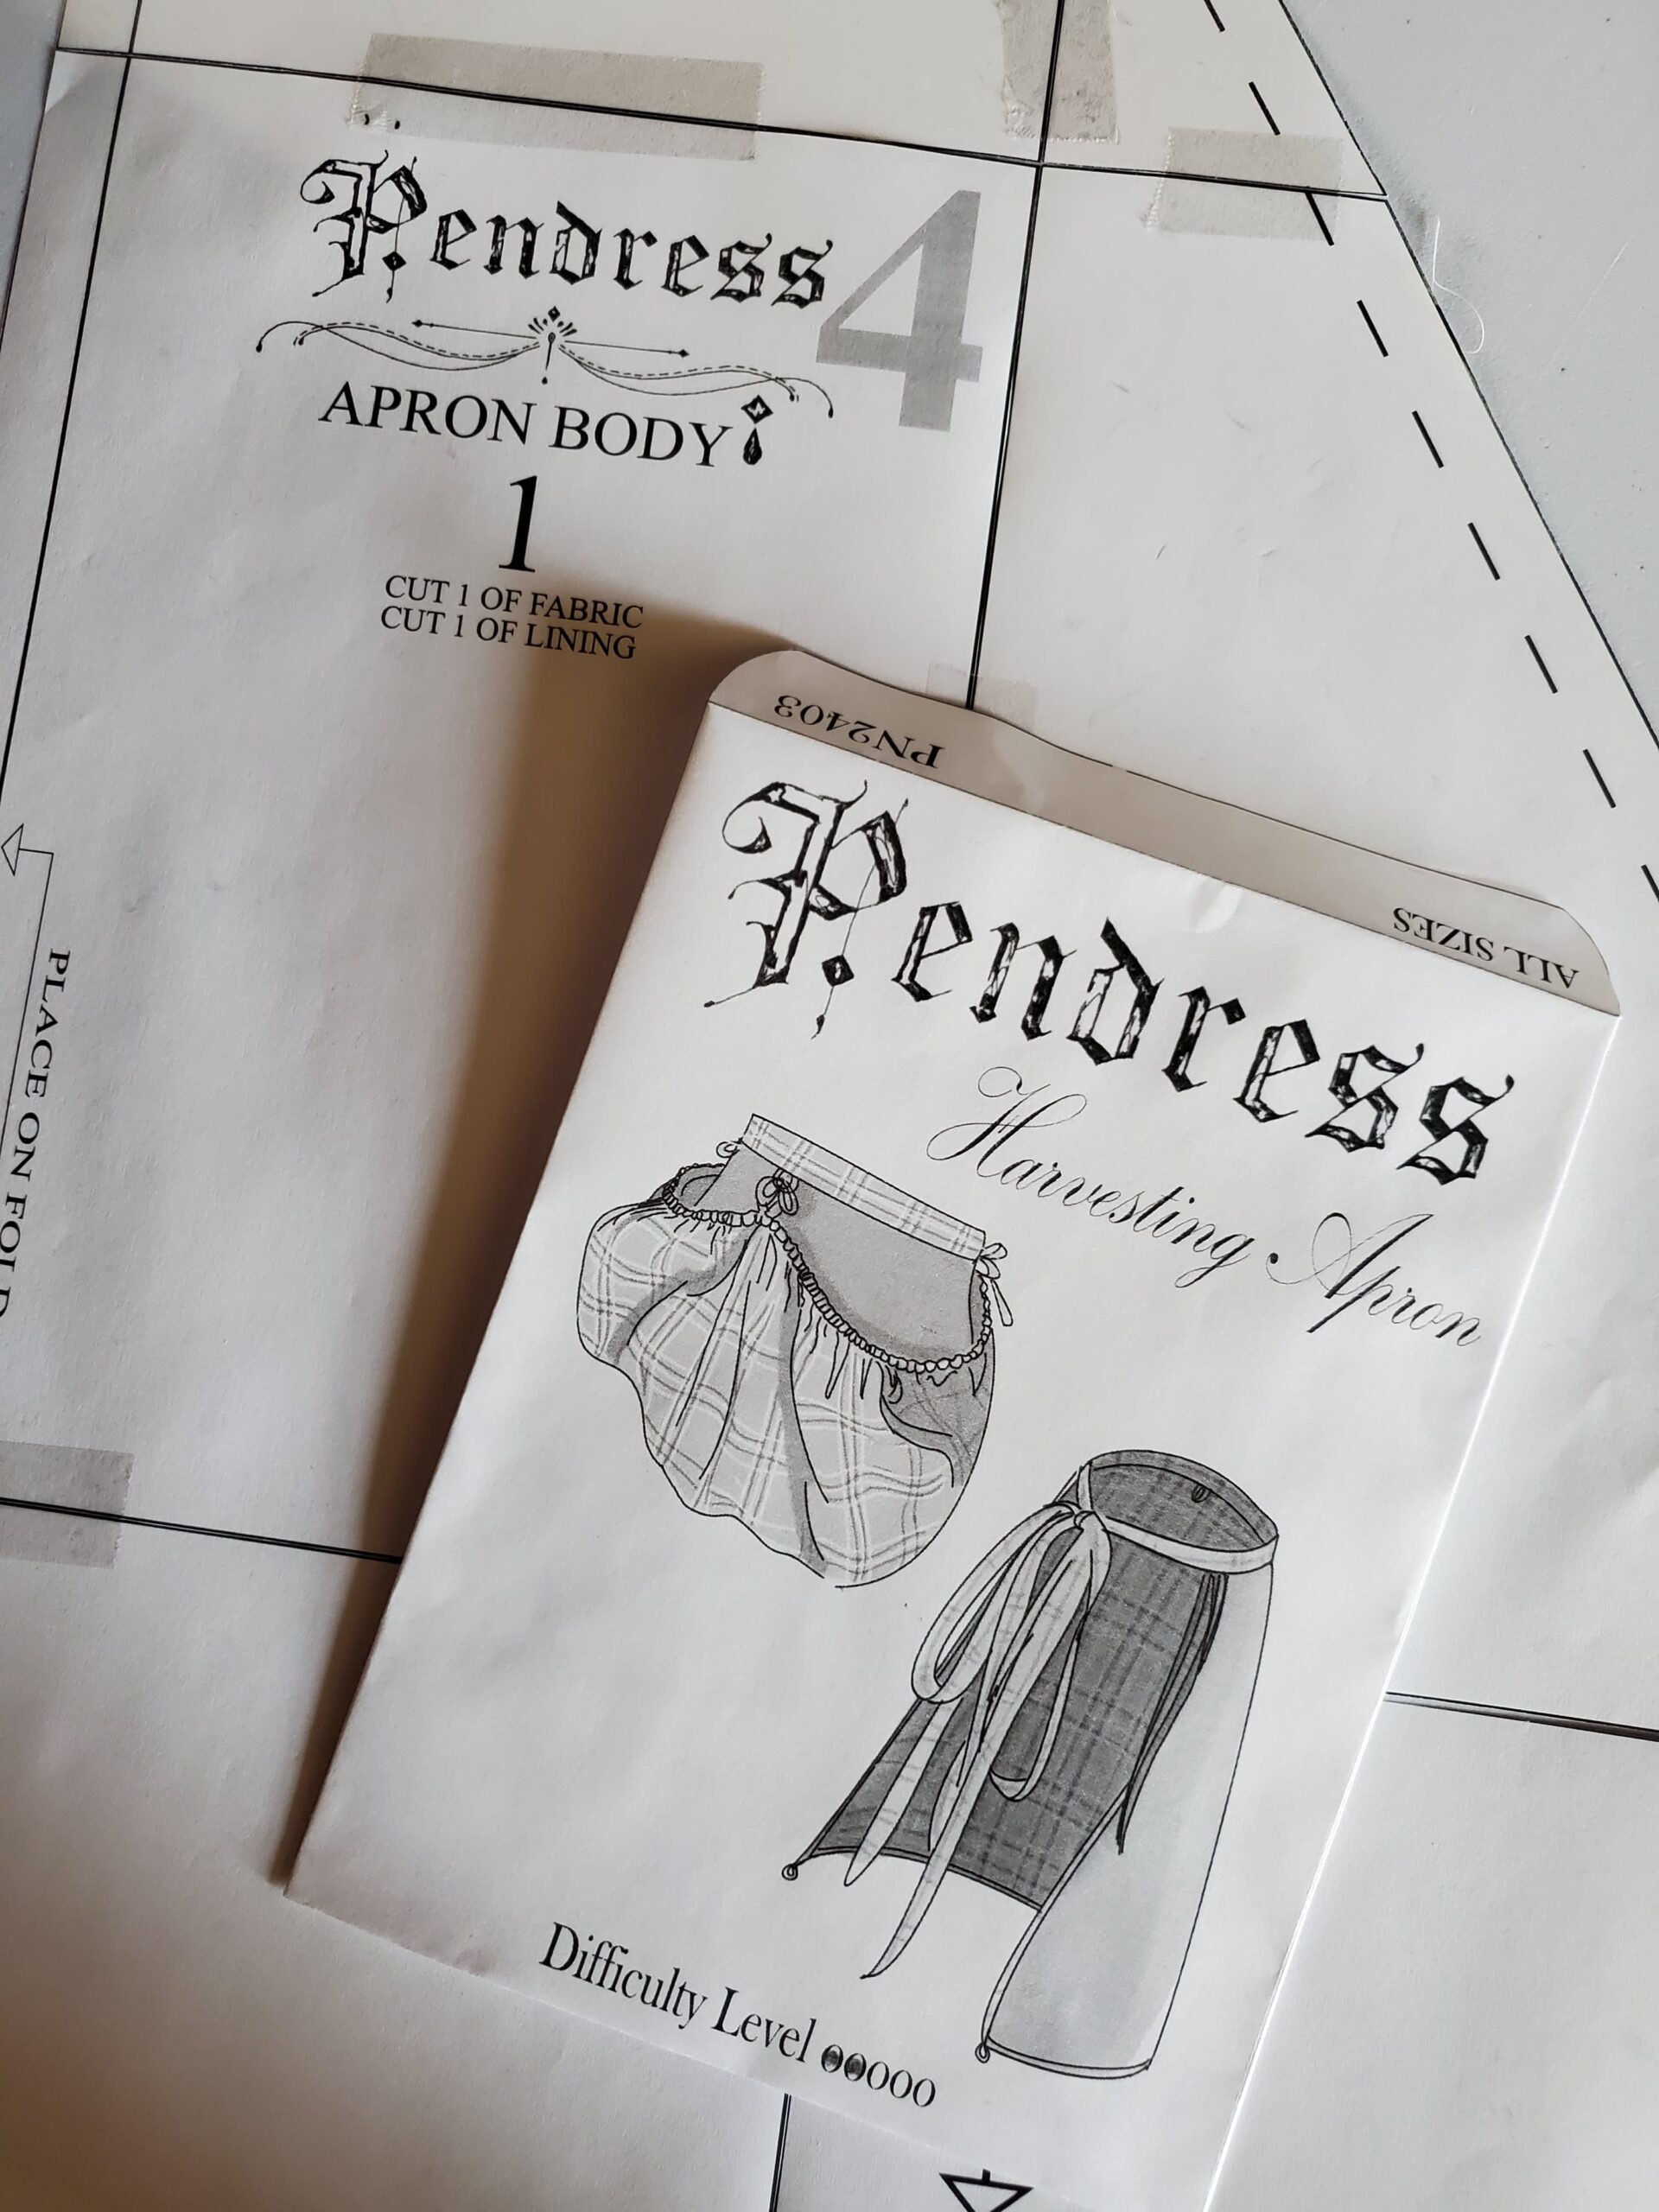
We begin with the cover page. This page shows the basic introductory information regarding the pattern, including the brand name, the name of the pattern, an illustration of the finished project, and a copyright warning. This is the same format used on the front of the printable pattern envelopes included with all my patterns. The cover page gives a quick sense of the project before diving into the details.
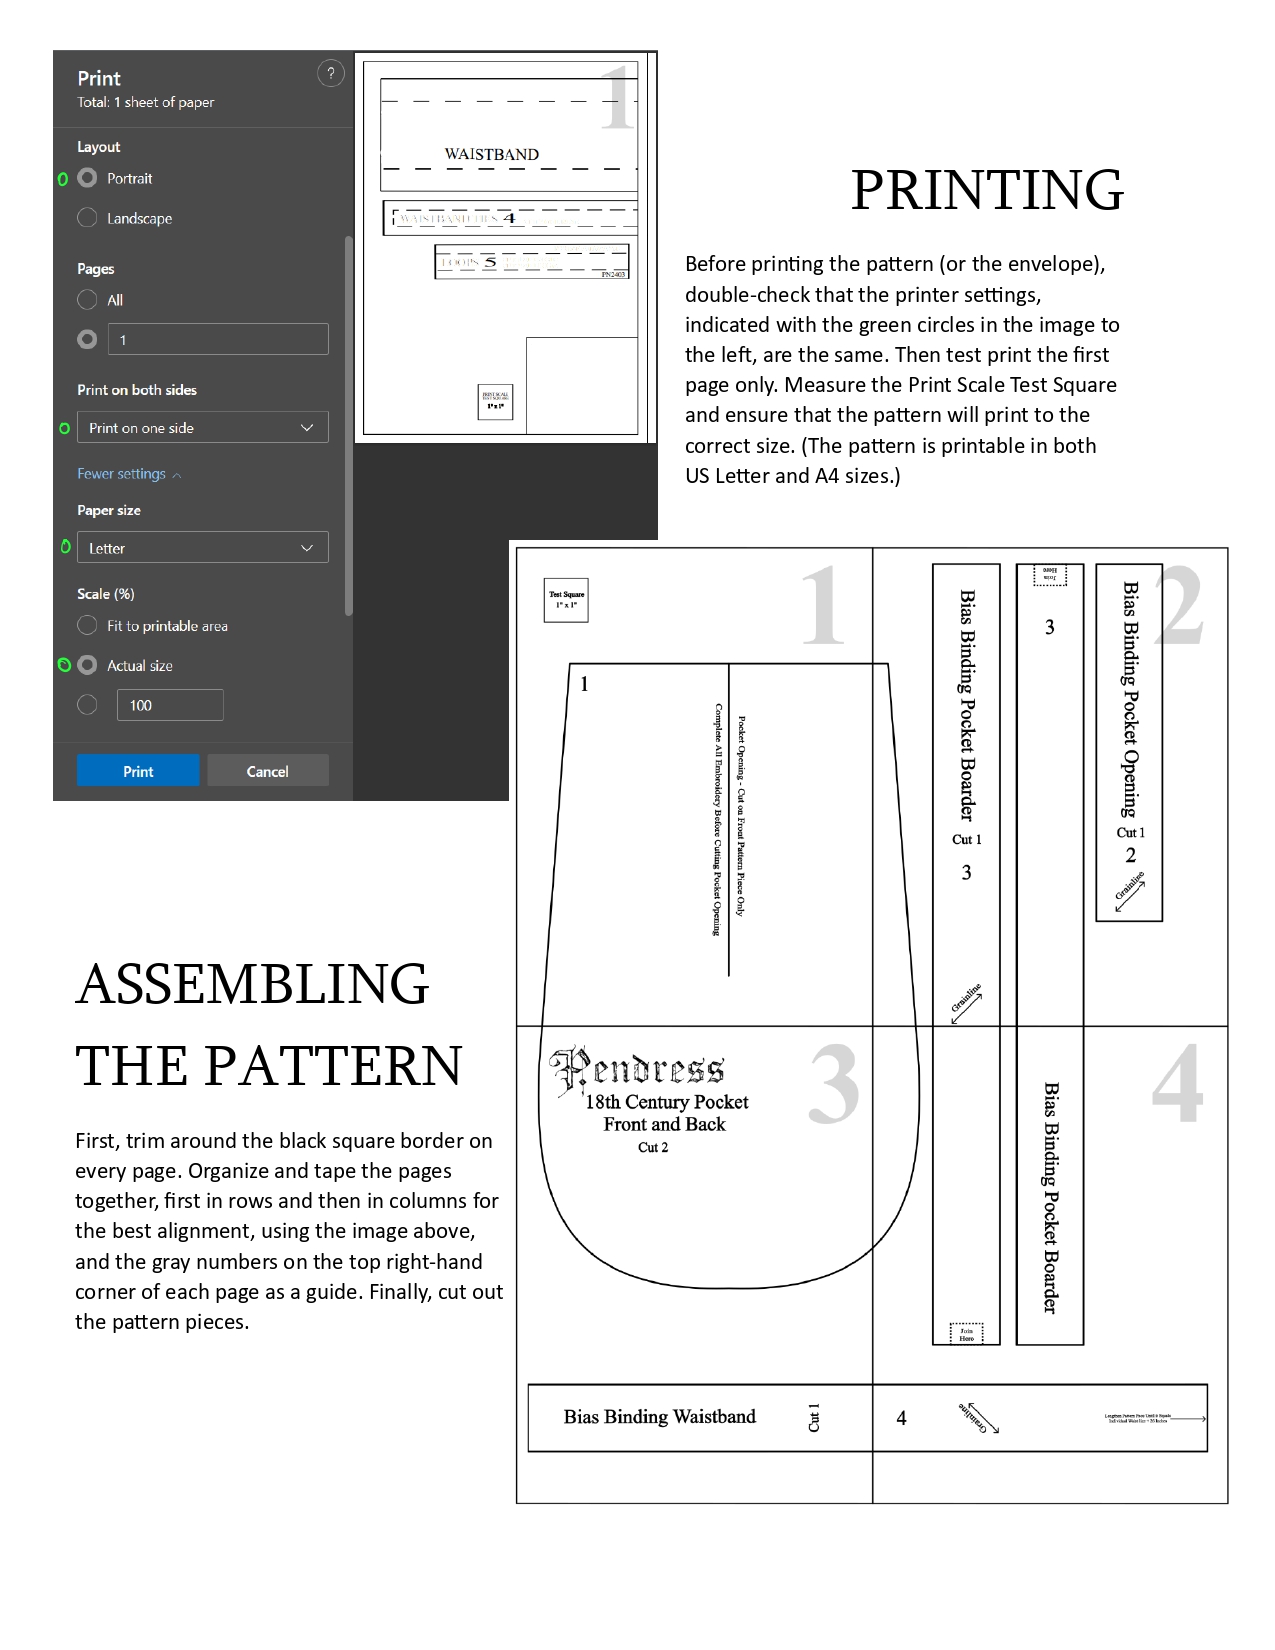
Paper Pattern Assembly
The next page is more introductory information that’s necessary to prepare the pattern correctly before starting the sewing process. It includes instructions on how to print the pattern at the correct scale and a guide to assembling the paper pattern. The diagram included with the guide shows the page numbering and what the pattern should look like once it’s all taped together. If you plan to use the projector file instead of printing the paper pattern, you can skip this page entirely.
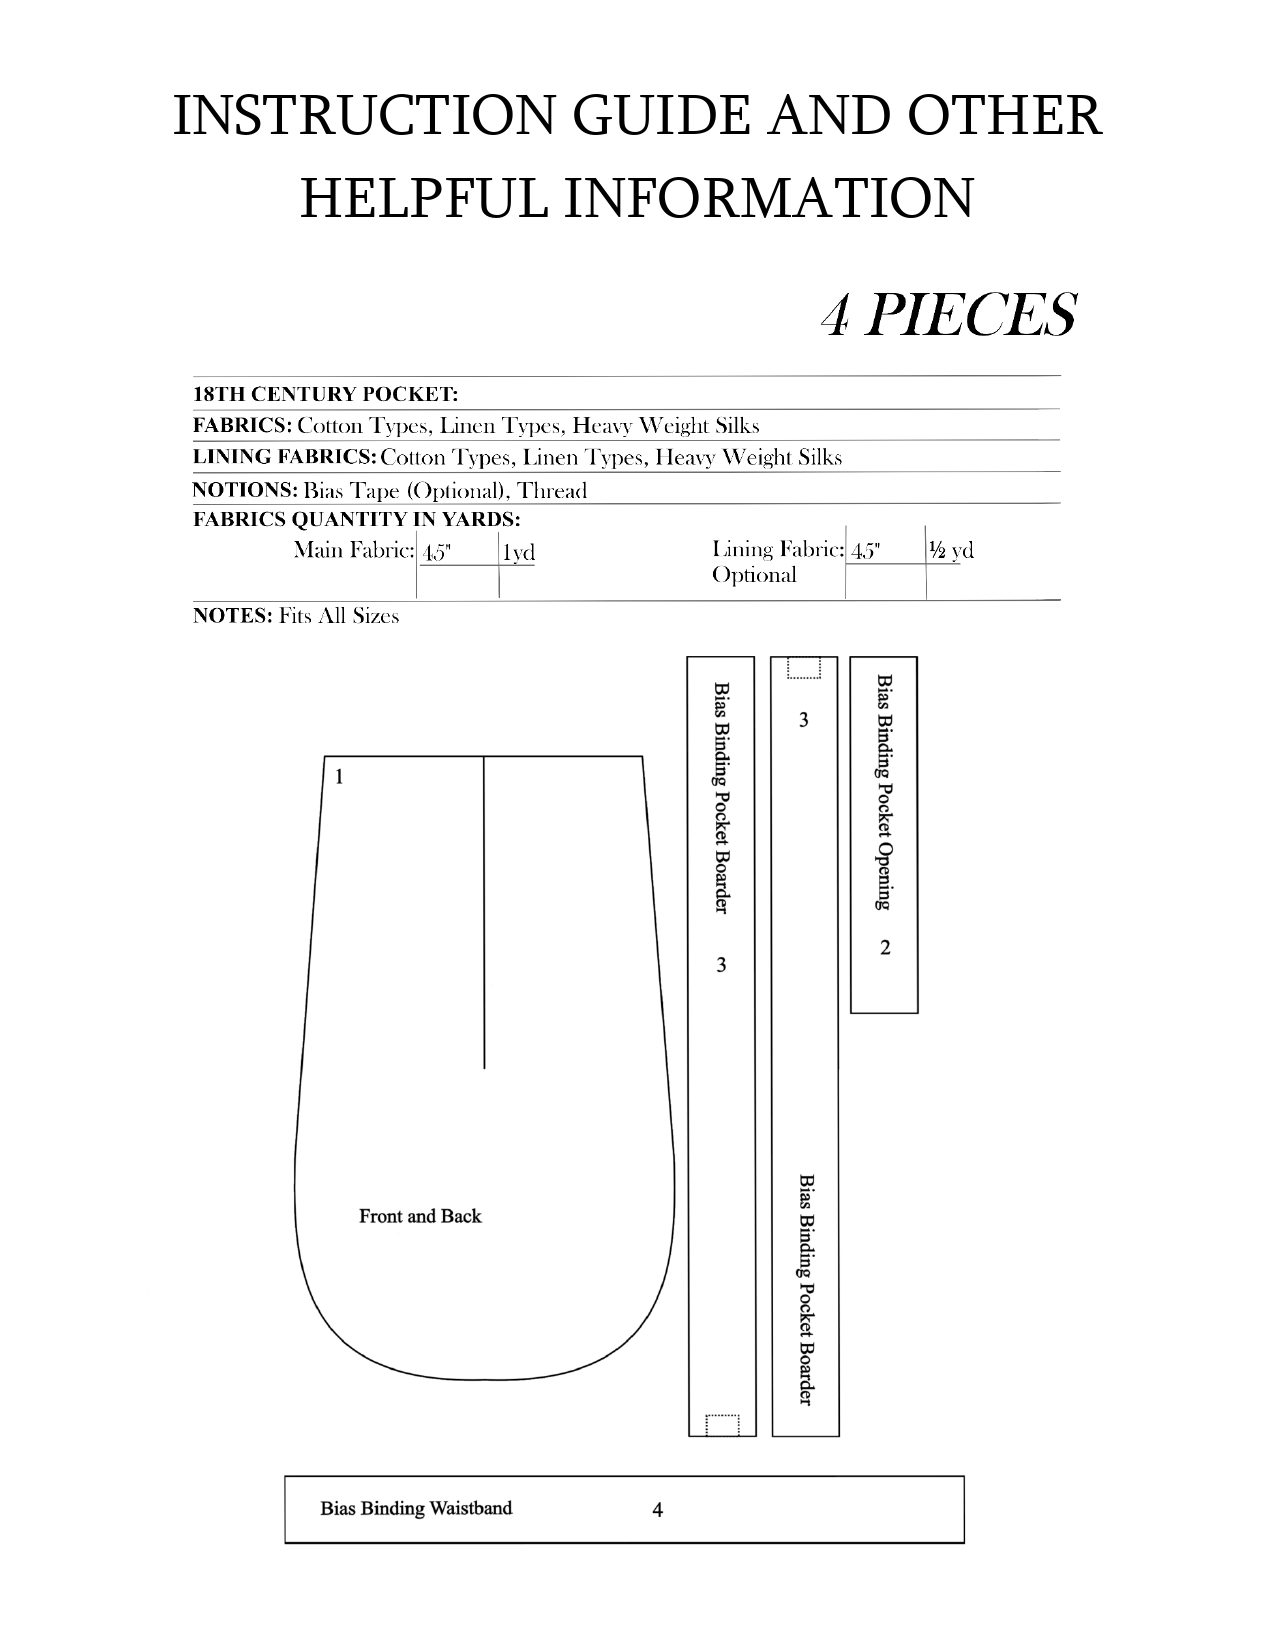
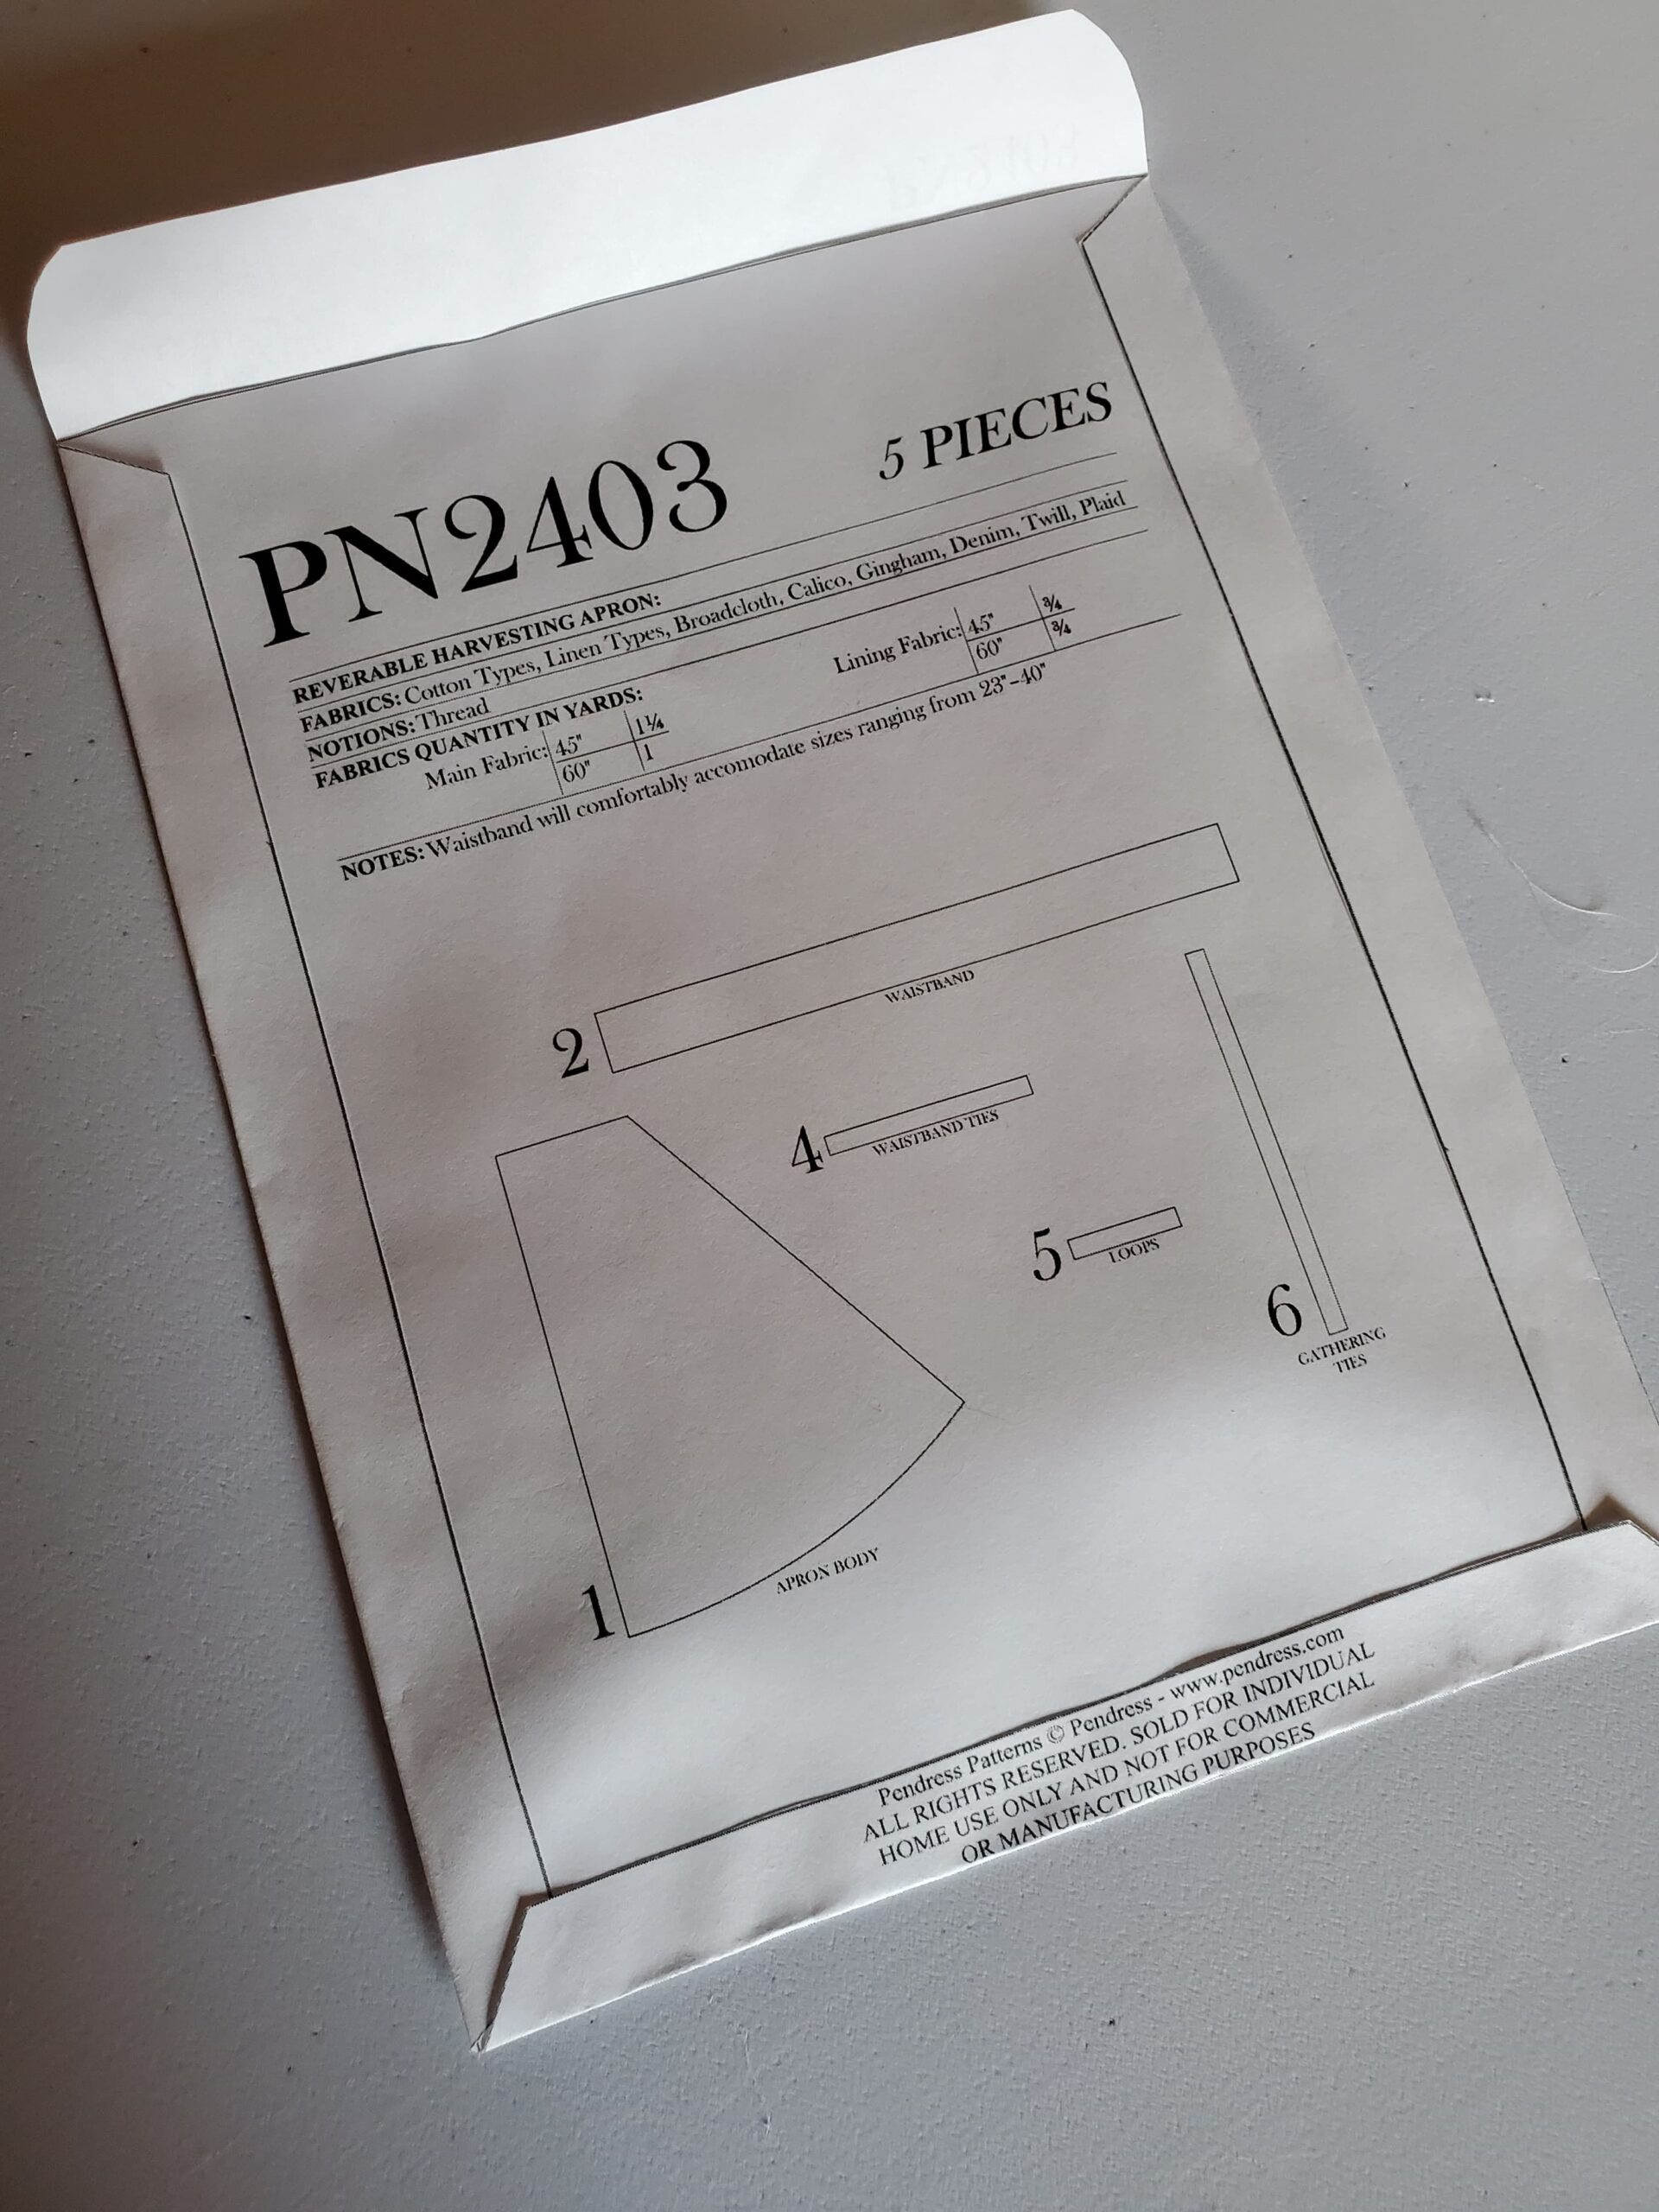
Fabric and Pattern Info
This page is designed to give the same information found on the back of commercial sewing patterns. It includes information about how many pattern pieces are included, what the pattern pieces look like, recommended fabric types, how much fabric is needed, any required notions, the size guide, and additional notes about the pattern. This is also the back page used on the printable pattern envelopes included with all my patterns. This is to help you gather materials and give a little insight into the scope of the project.
Guide to Reading the Instructions
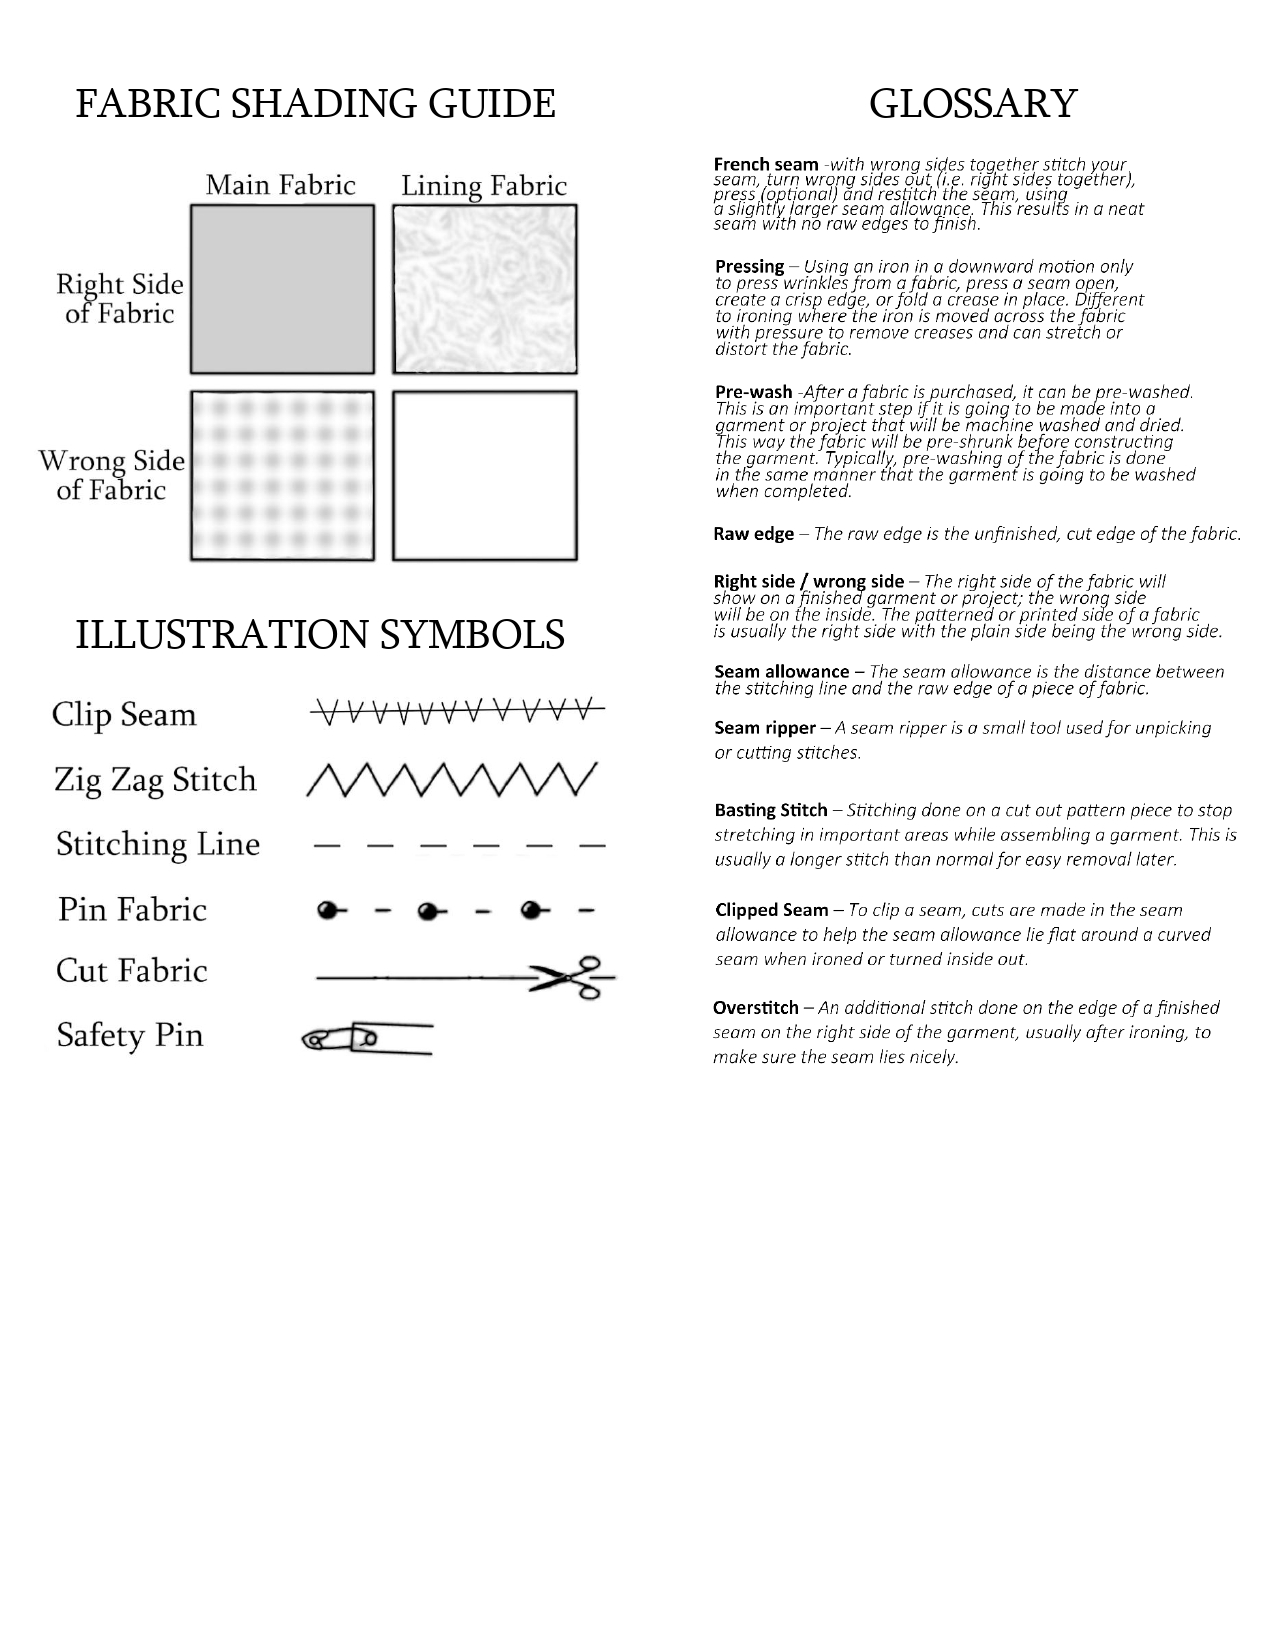
This page contains all the information needed to read the instructions and understand the illustrations. It begins with a shading guide — a small grid that shows which side of the fabric is being depicted in the illustrations and which fabric you’re working with in each step.
Next, you’ll find common symbols that may appear throughout the pattern. Not every symbol is used in every project, but this section serves as a helpful reference if an illustration needs a little extra clarity.
Finally, there is a mini glossary. This is a quick go‑to guide for common sewing terminology that may appear frequently in the instructions.
Fabric Guide Made to Scale
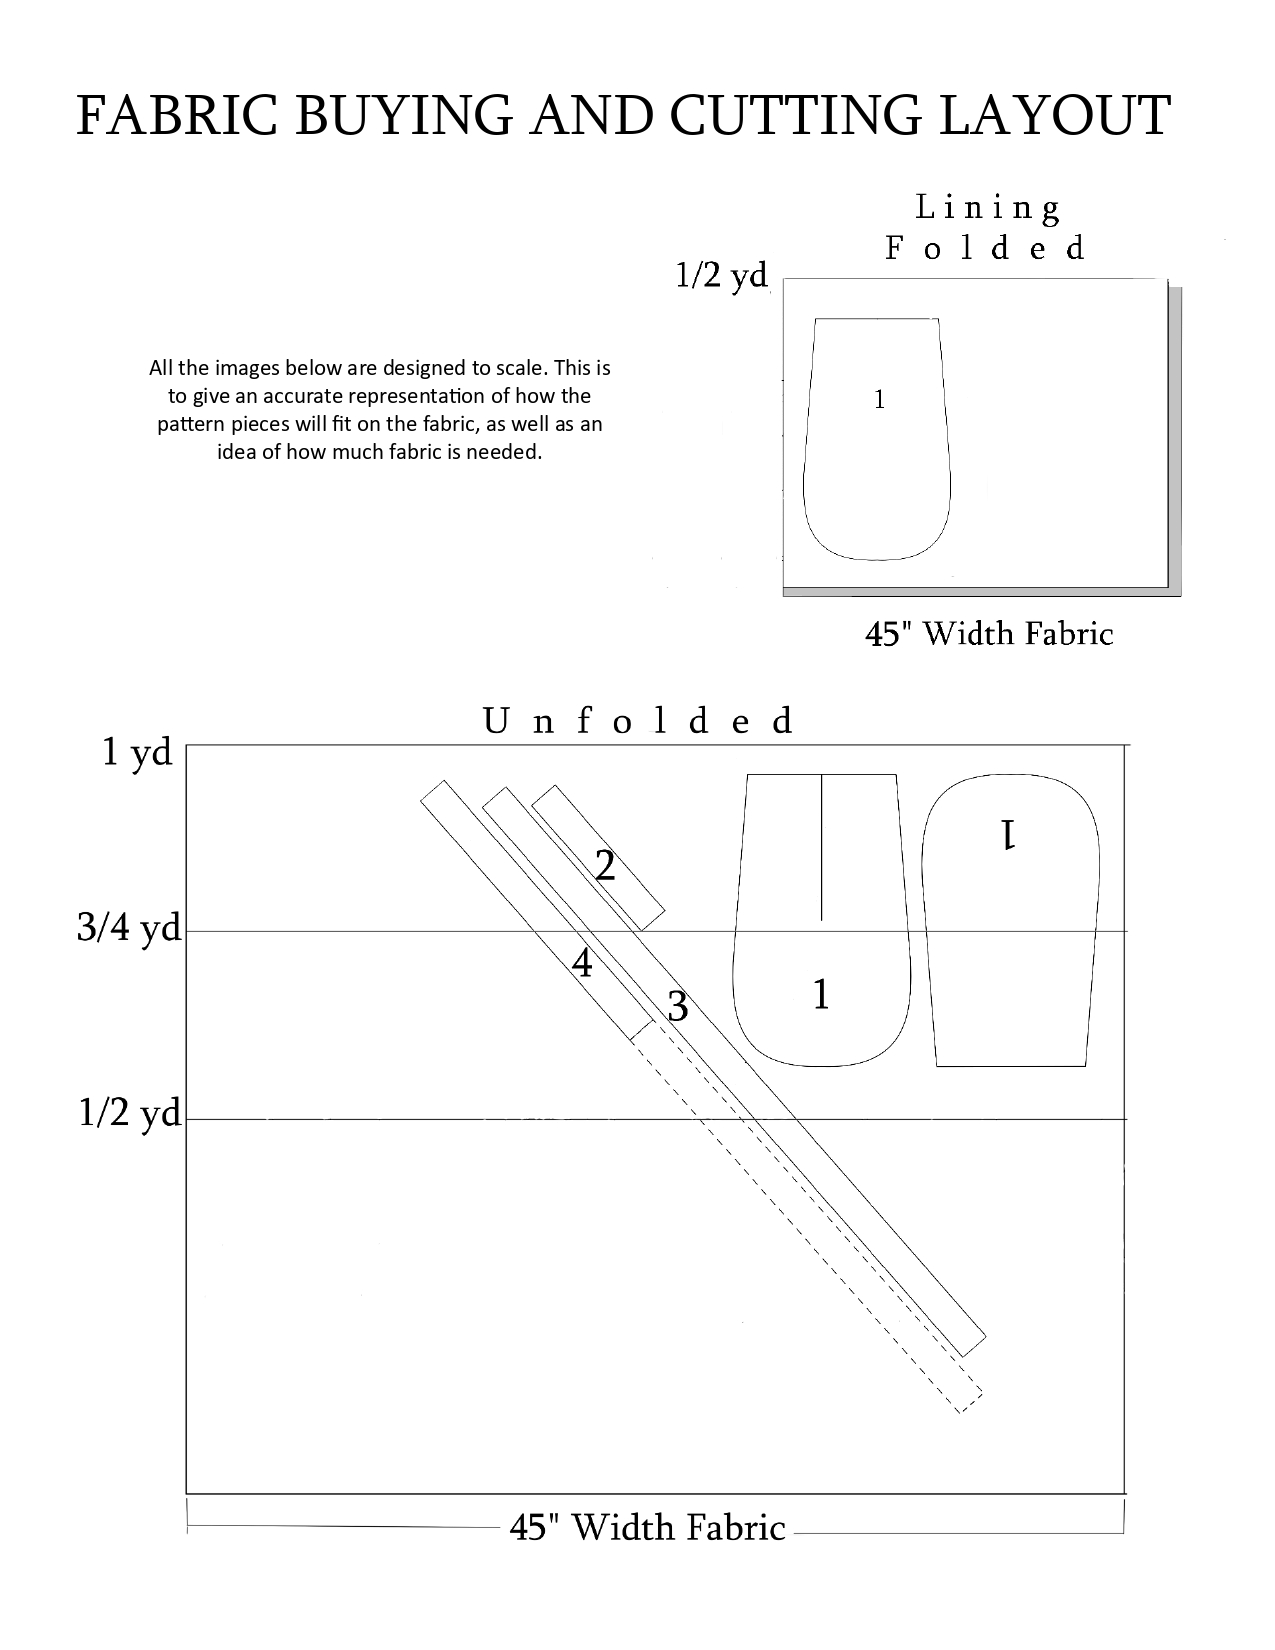
Then we have the fabric layout guide. This section clearly illustrates how much fabric is needed and the recommended way to place the pattern pieces on the fabric. The pattern pieces and the fabric are illustrated to scale for accurate visual representation. It includes folded and unfolded layout examples in multiple fabric widths so you can see exactly how the pieces will fit on the fabric. This is to help give you a clear idea of how much material is actually needed for the project.
The Instructions
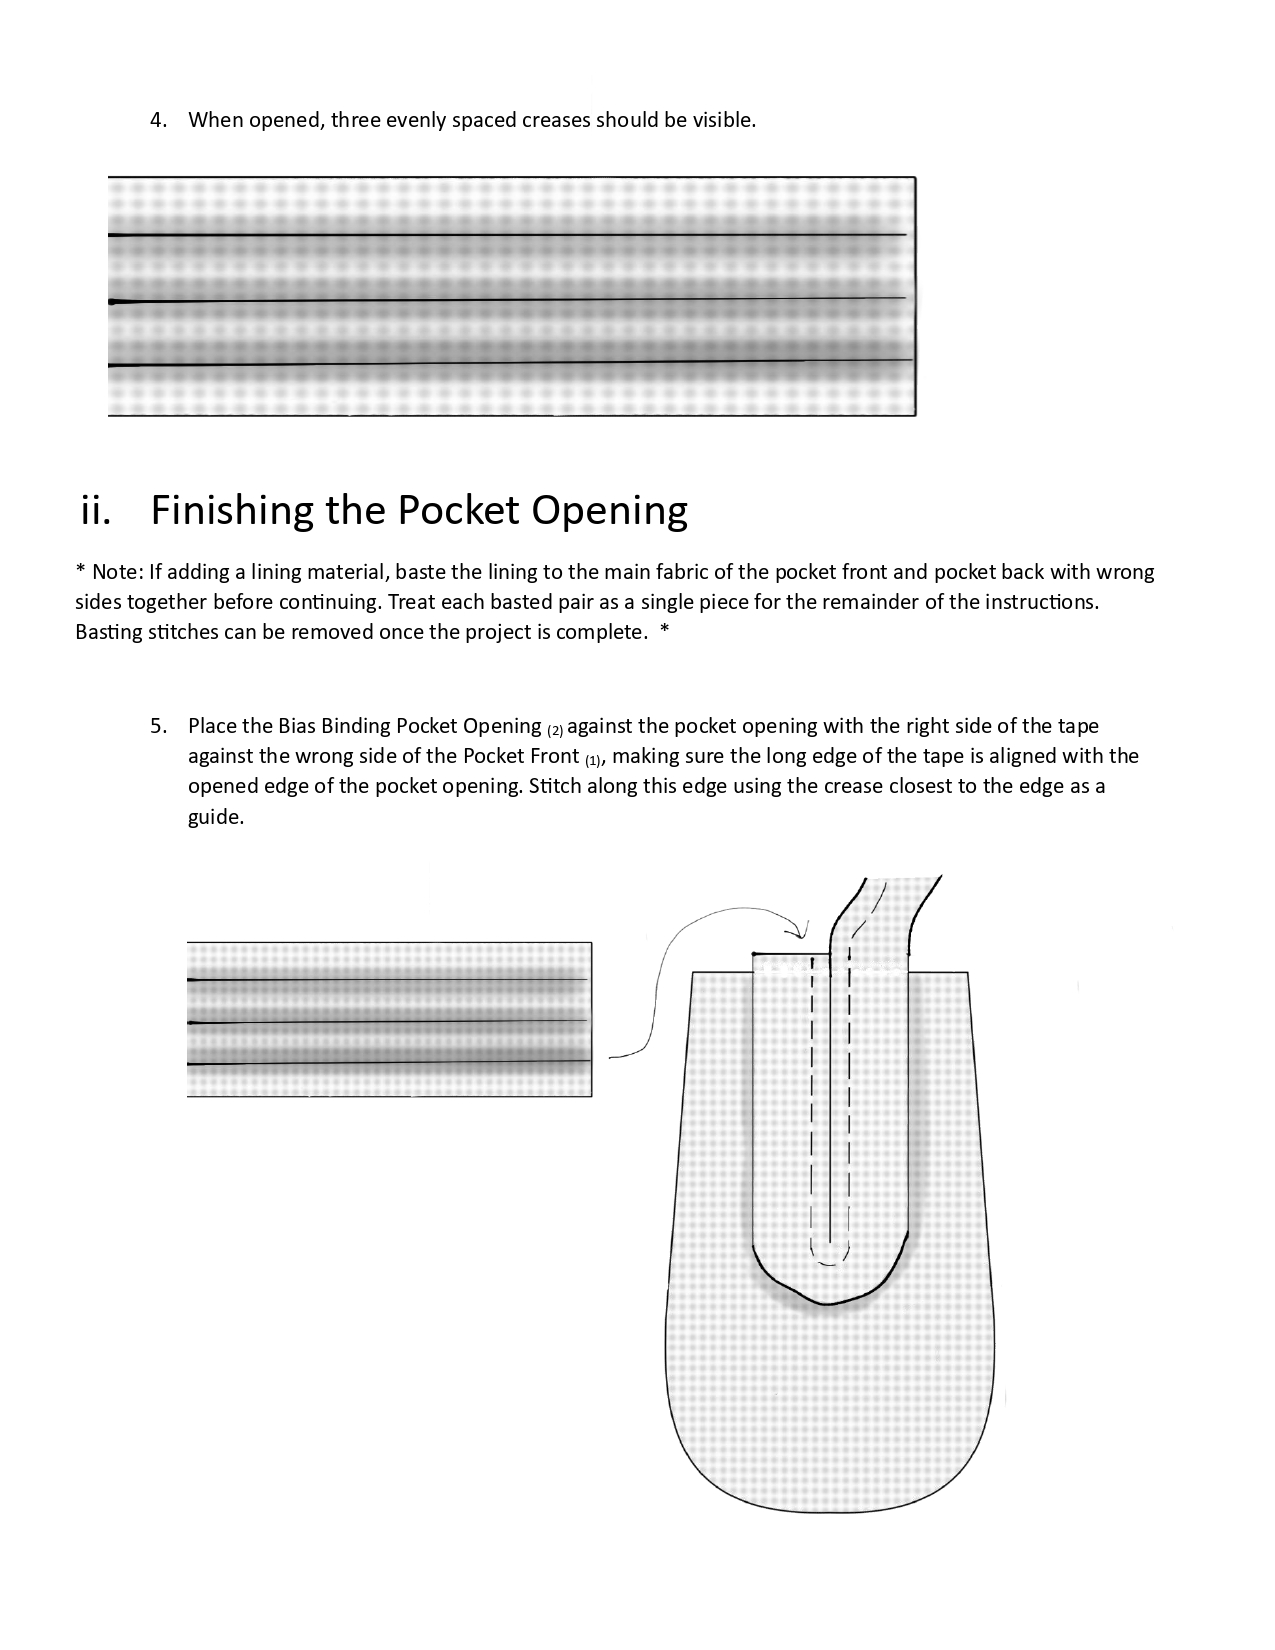
And finally, we reach the instruction pages. Each section is broken into a main category to distinguish which part of the project the upcoming instructions will pertain to, followed by small, bite‑sized steps that walk you through the process. Every written instruction is paired with one or more illustrations to give a clear visual reference for what the step is asking.
Final Thoughts
Every pattern I create follows this same structure. Clear illustrations, steady pacing, and straightforward language have long been the foundation of good instruction, and I try to carry that same spirit into each page. These sections are meant to give a clear sense of what’s included in the pattern and how each part fits together, much like the beautiful patterns available to us from all the wonderful pattern makers throughout history.
My hope is that this guide offers a bit of orientation as you begin, helping you feel familiar with the layout and rhythm of the pattern before jumping to the instructions themselves. Each project has its own character, and understanding the main structure of the document at the start can make the work feel calmer and more intentional. And if anything in the instructions ever feels uncertain, you’re welcome to reach out — I’m glad to offer clarity whenever I can.
Pattern Notes
Clear steps make even complex projects feel simple.
0 Comments